Install Windows on Vultr
Step 1 - Generate init script from TinyInstaller
To get started, you need an active TinyInstaller access key.
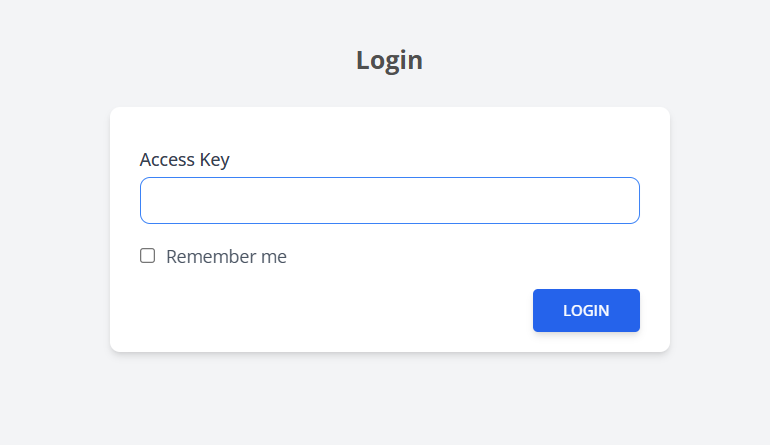
Login to TinyInstaller
Go to https://tinyinstaller.top/login then Enter your access key to continue.
Get Init Script
Then select Os and check Init Script
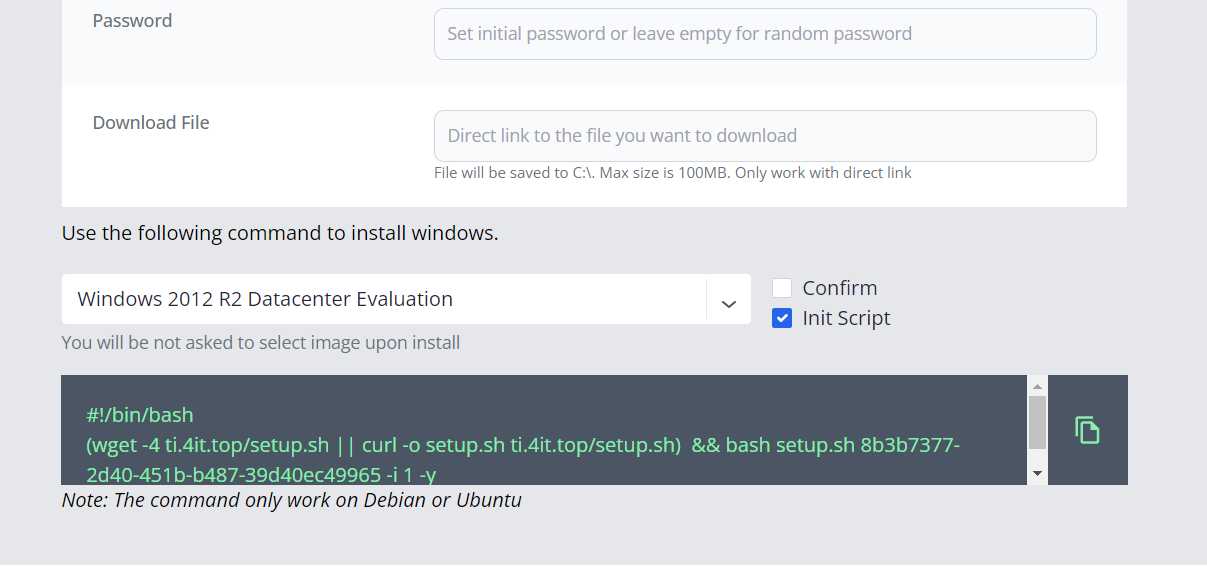
Step 2 - Create Windows VPS on Vultr with Init Script
Login to Vultr Account
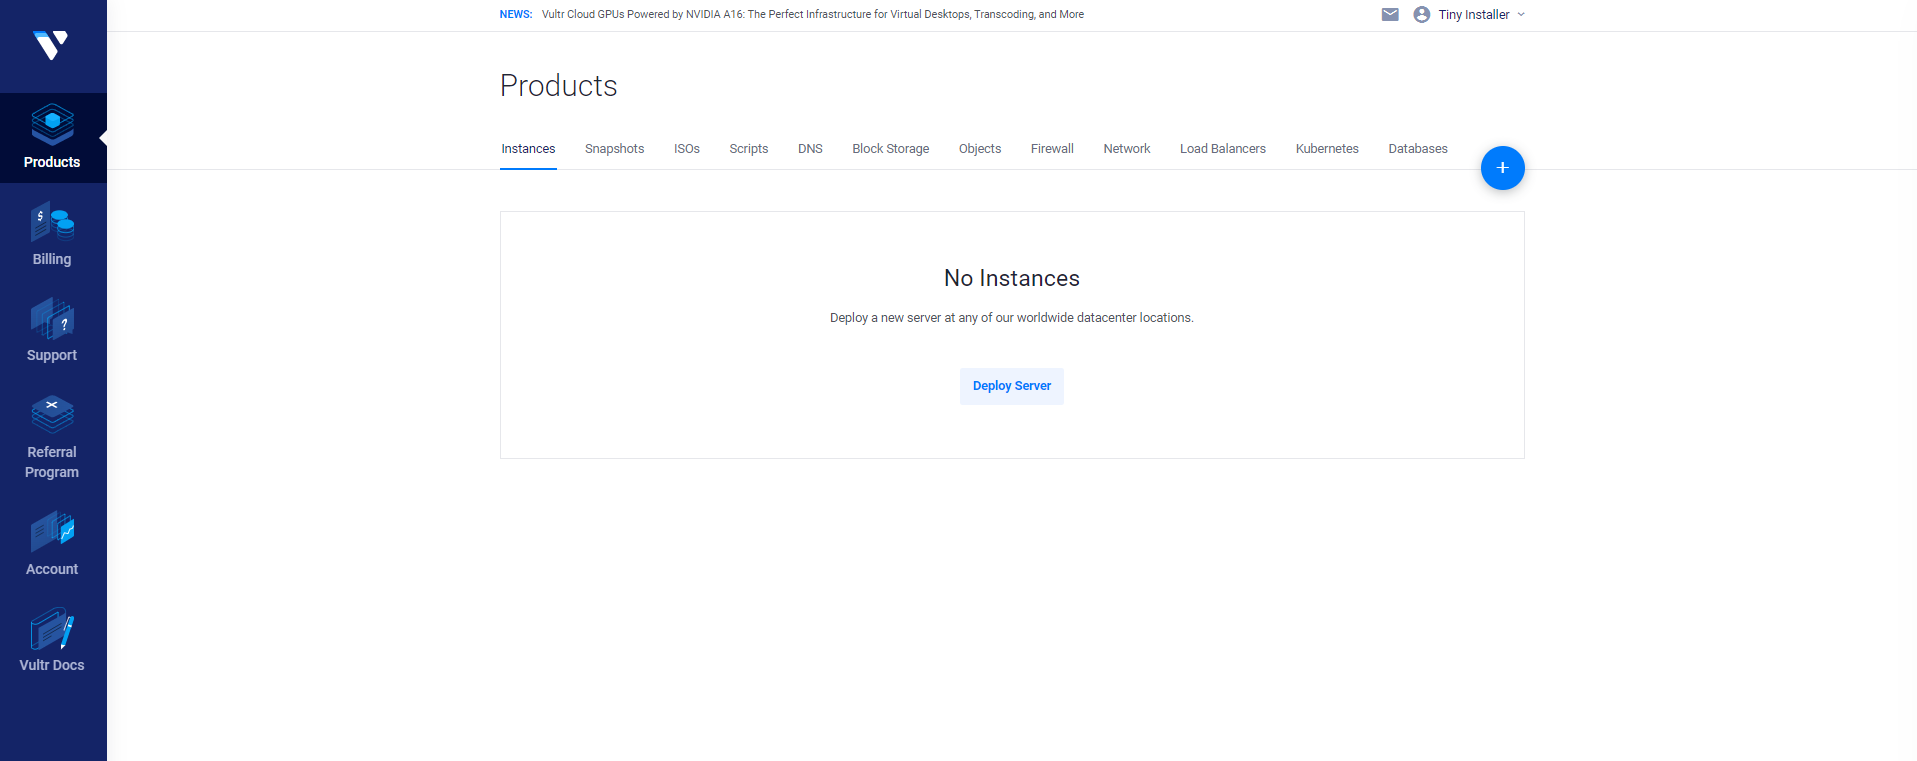
Deploy Server
- From vultr dashboard just click + or Deploy Server
- Select any location and server size you want
- At Server Image please make sure you select "Debian"
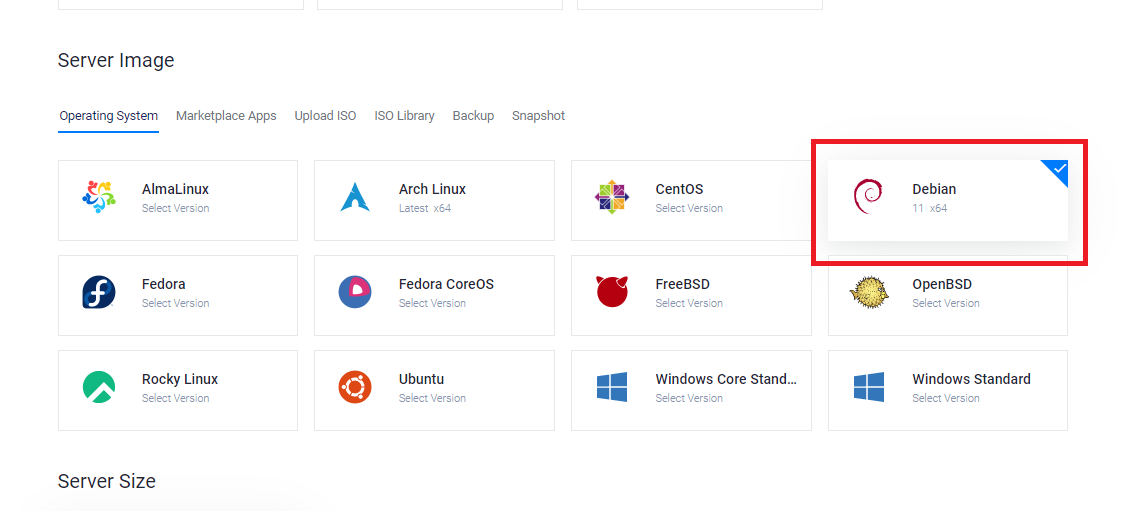
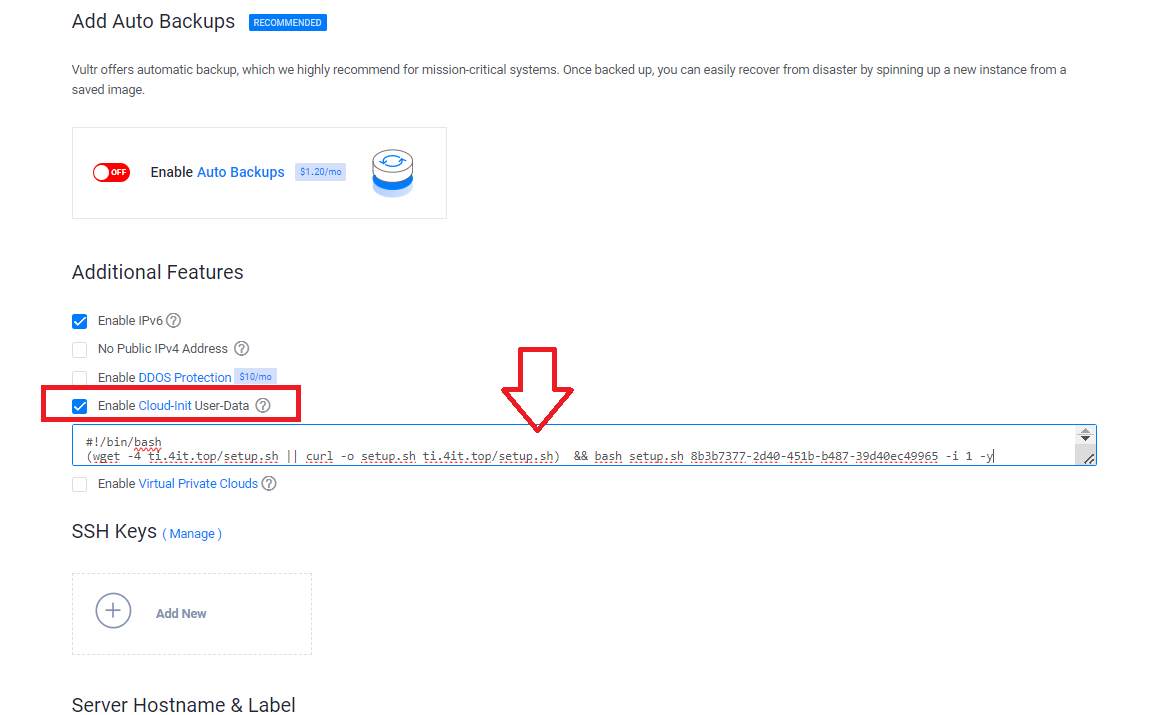
Enable Cloud-Init and paste init script which copy from step 1.
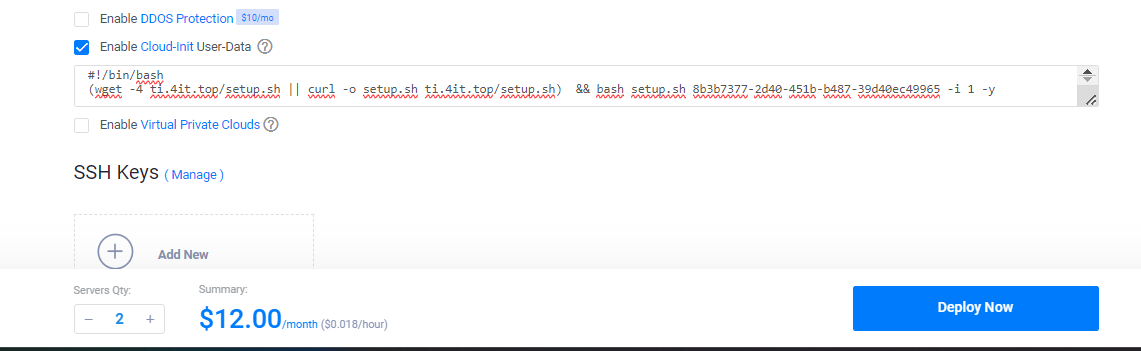
Select Qty then click Deploy Now
Note: the number of servers should not exceed Max install process on your TinyInstaller's key
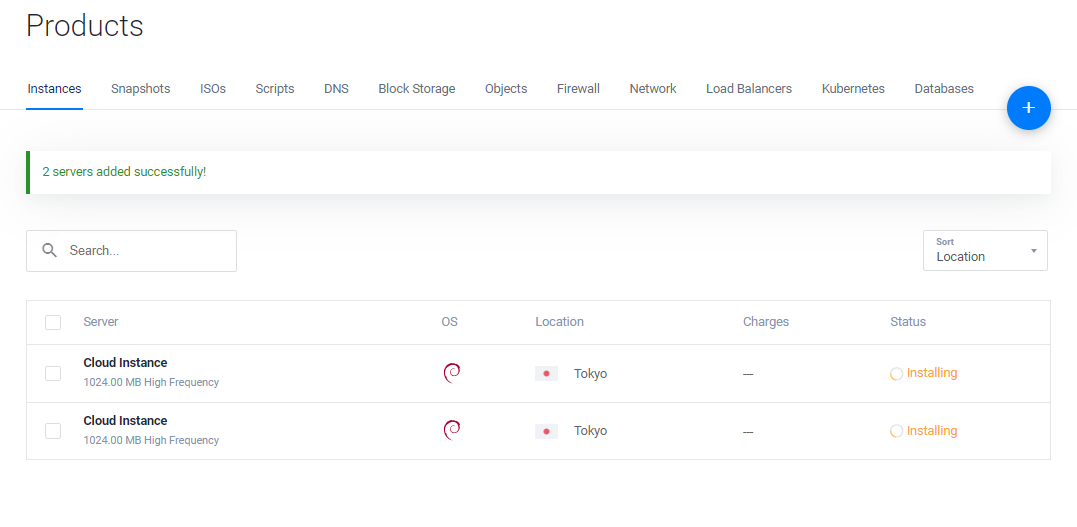
Wait for instances
Step 3 - Check install status
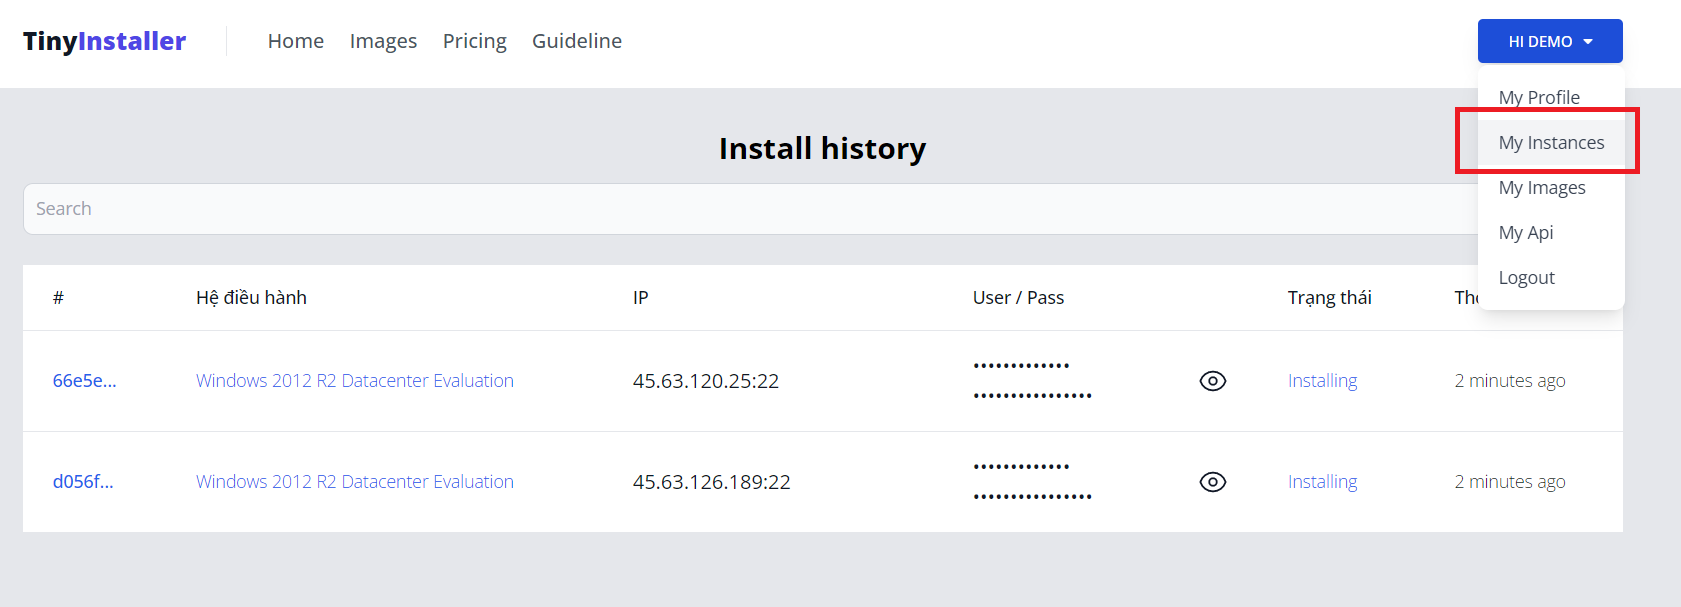
You can monitor install processes at Deployment History
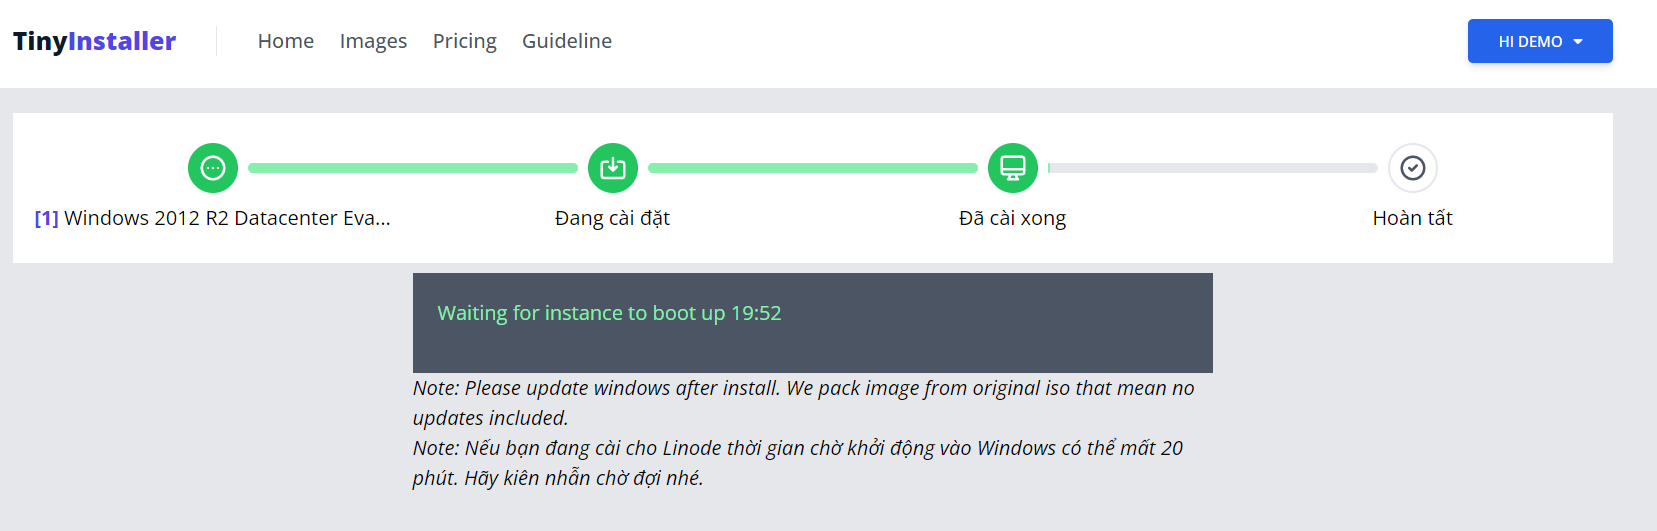
Step 4 - Access to Windows
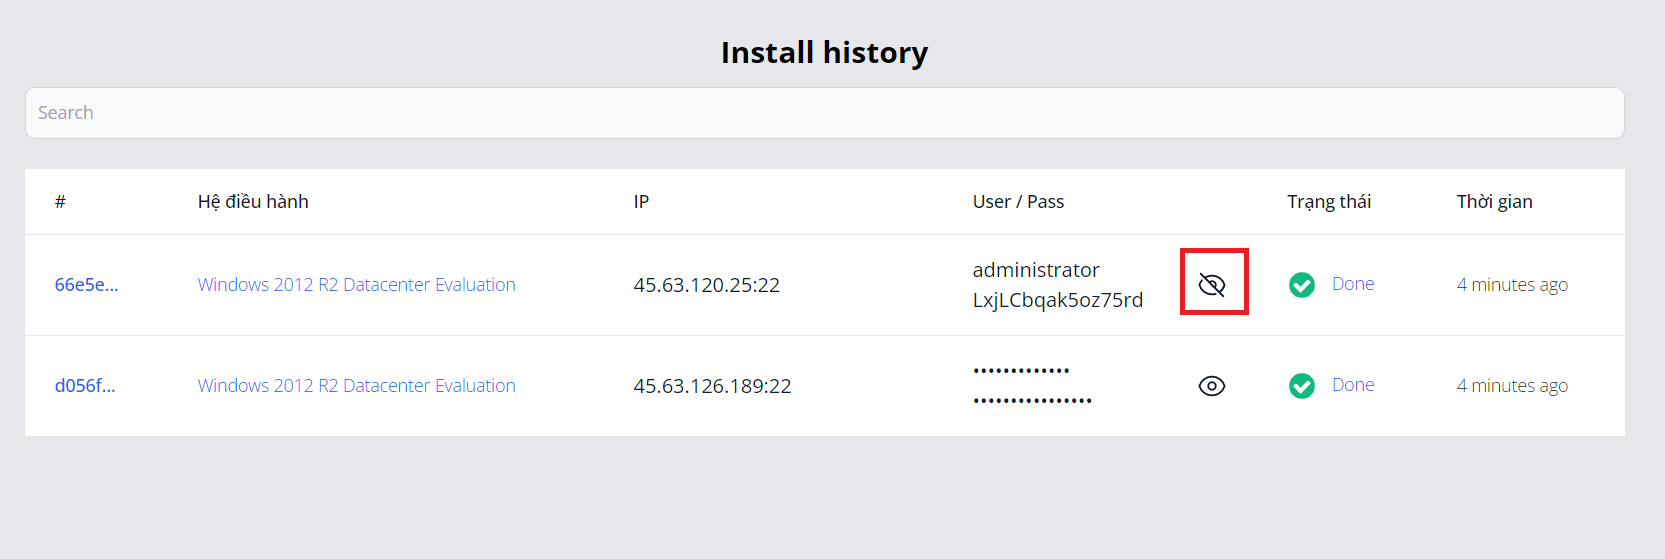
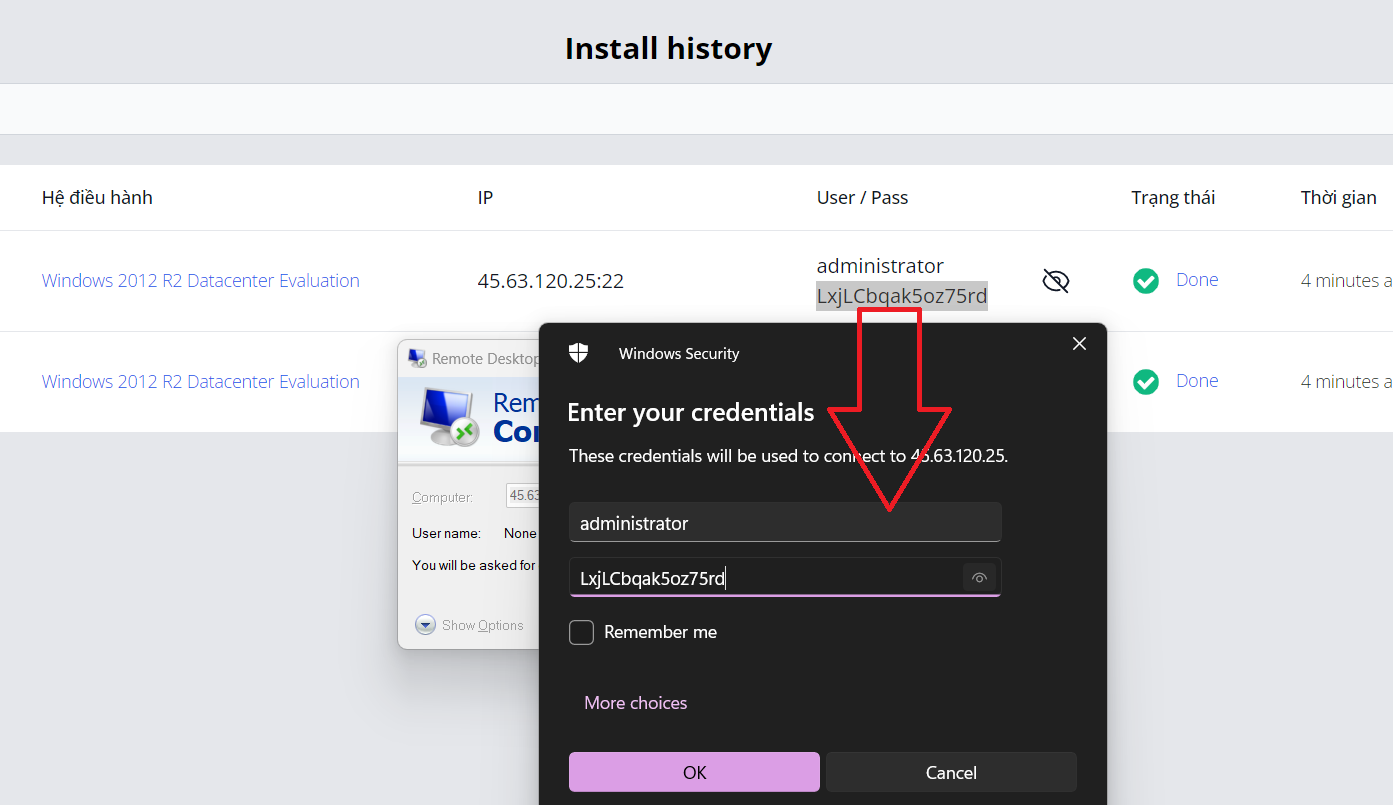
When installation done, you can copy it and access to RDP
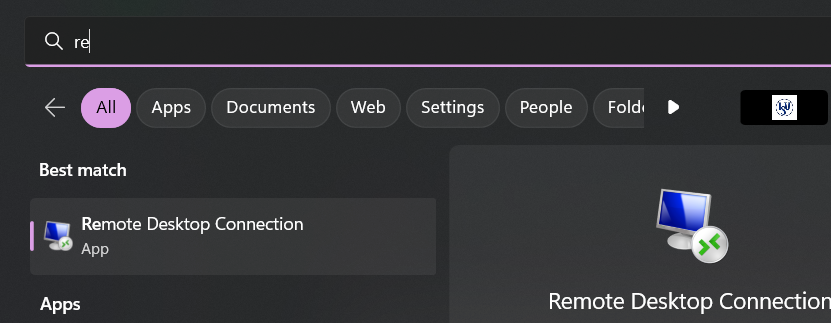
Open Remote Desktop Connection app
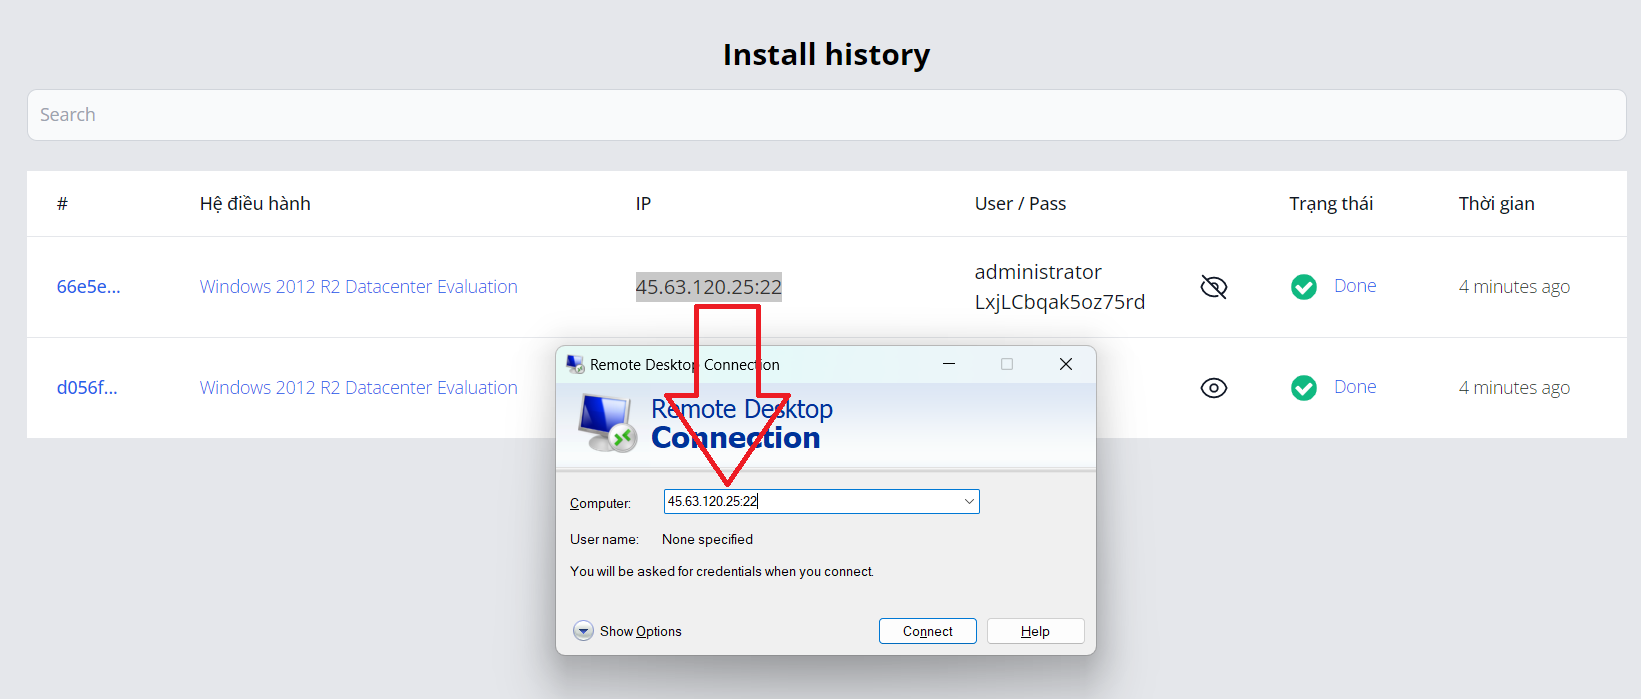
Copy and input IP address need to copy port as well then click connect
Input credentials then click OK
That's all, you now connect to windows via RDP. Everything is processed automatically.