Install Windows on Oracle Cloud
Step 1 - Generate init script from TinyInstaller
To get started, you need an active TinyInstaller access key.
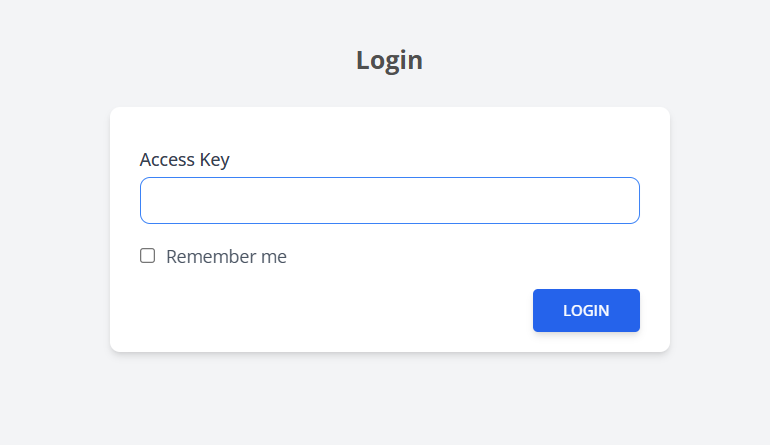
Login to TinyInstaller
Go to https://tinyinstaller.top/login then Enter your access key to continue.
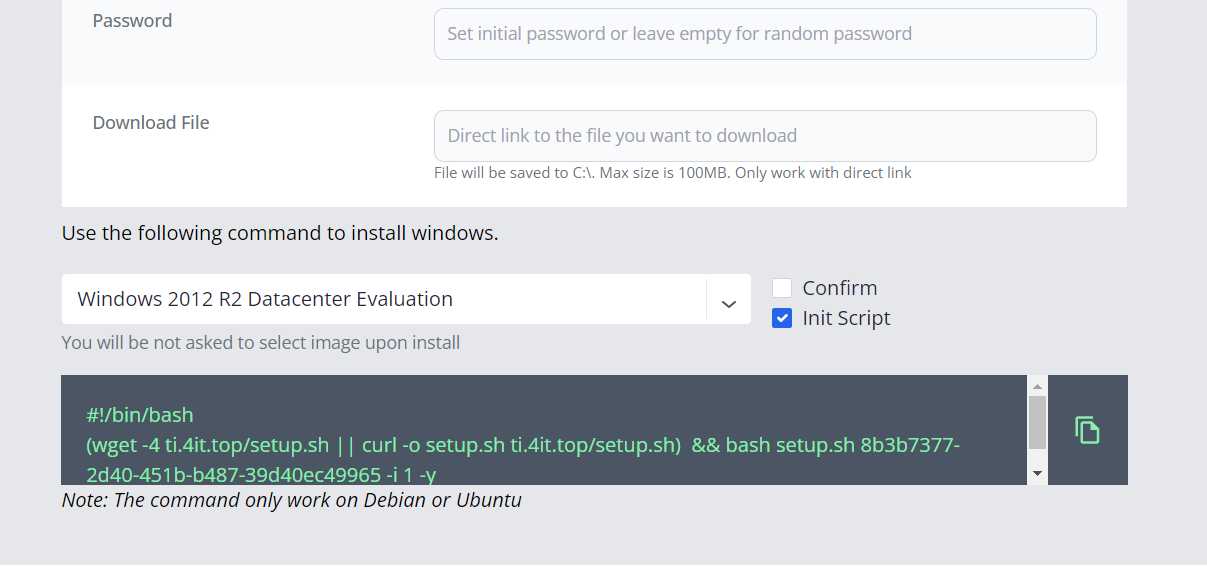
Get Init Script
Then select Os and check Init Script
Step 2 - Create Windows VPS on Oracle Cloud with Init Script
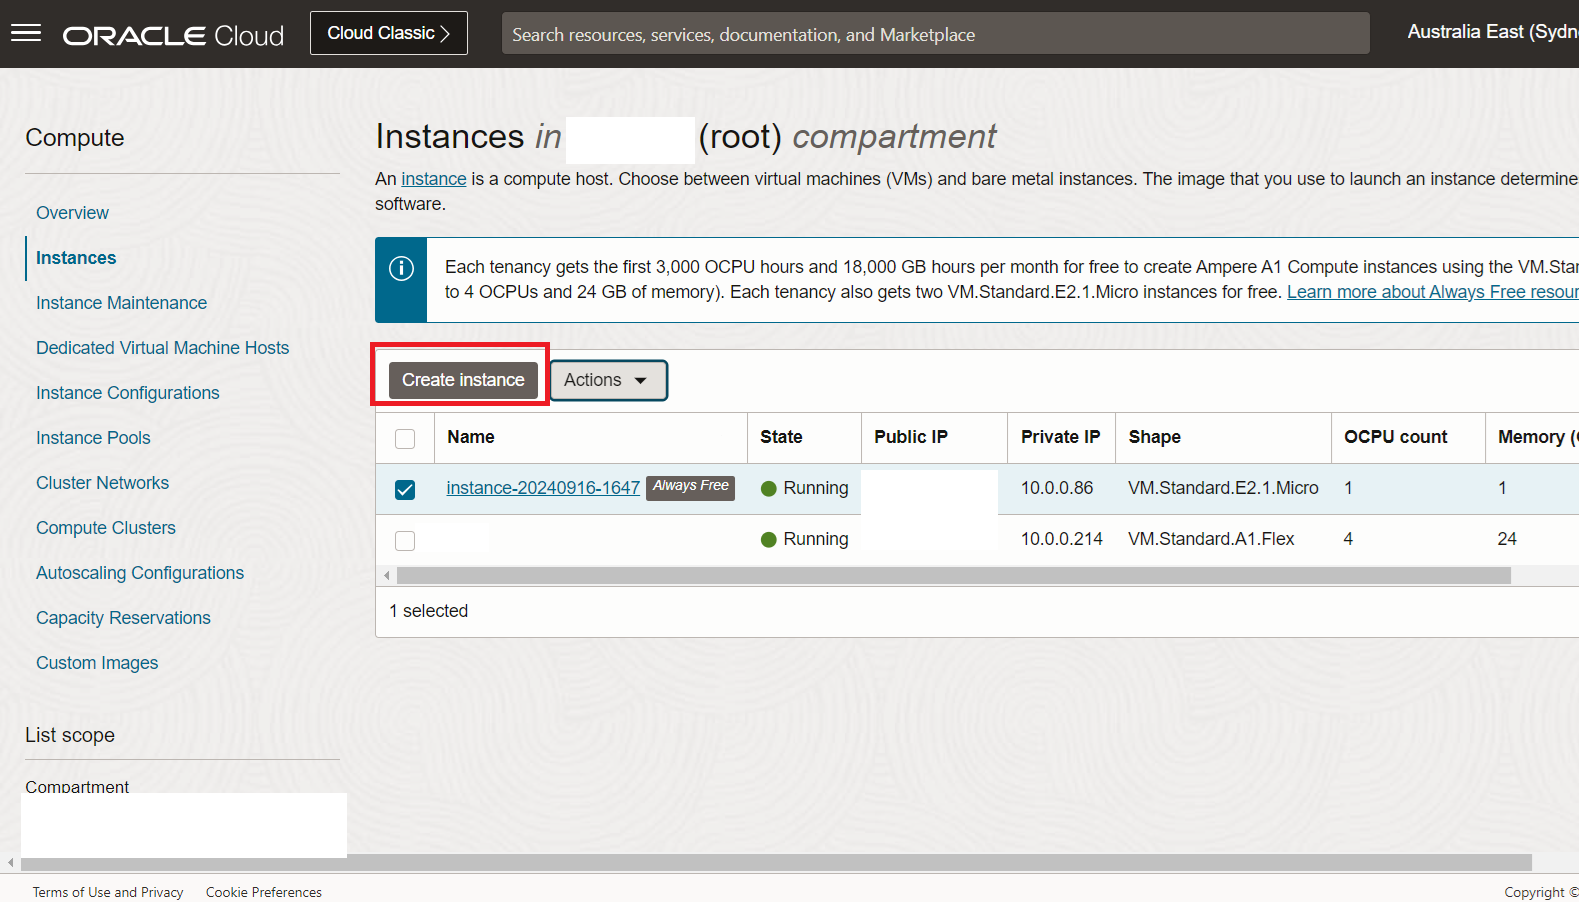
Create new VM Instance
Login to Oracle Cloud then click CREATE INSTANCE
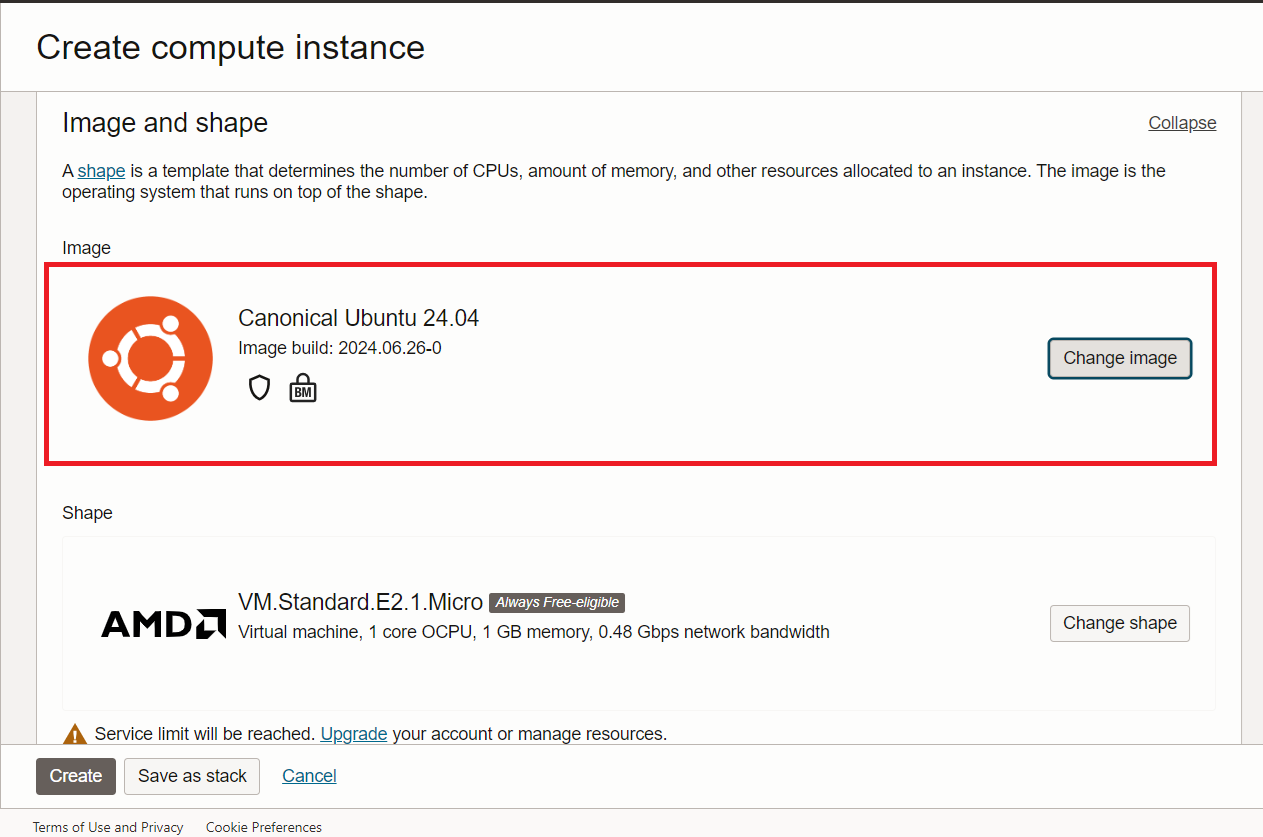
Choose Image and shape
Choose Ubuntu image, and AMD/Intel shape
Set the initialization script
Scroll to bottom of page click on "Show advanced options" -> Management tab, then paste init script from TinyInstaller into Automation - Startup script
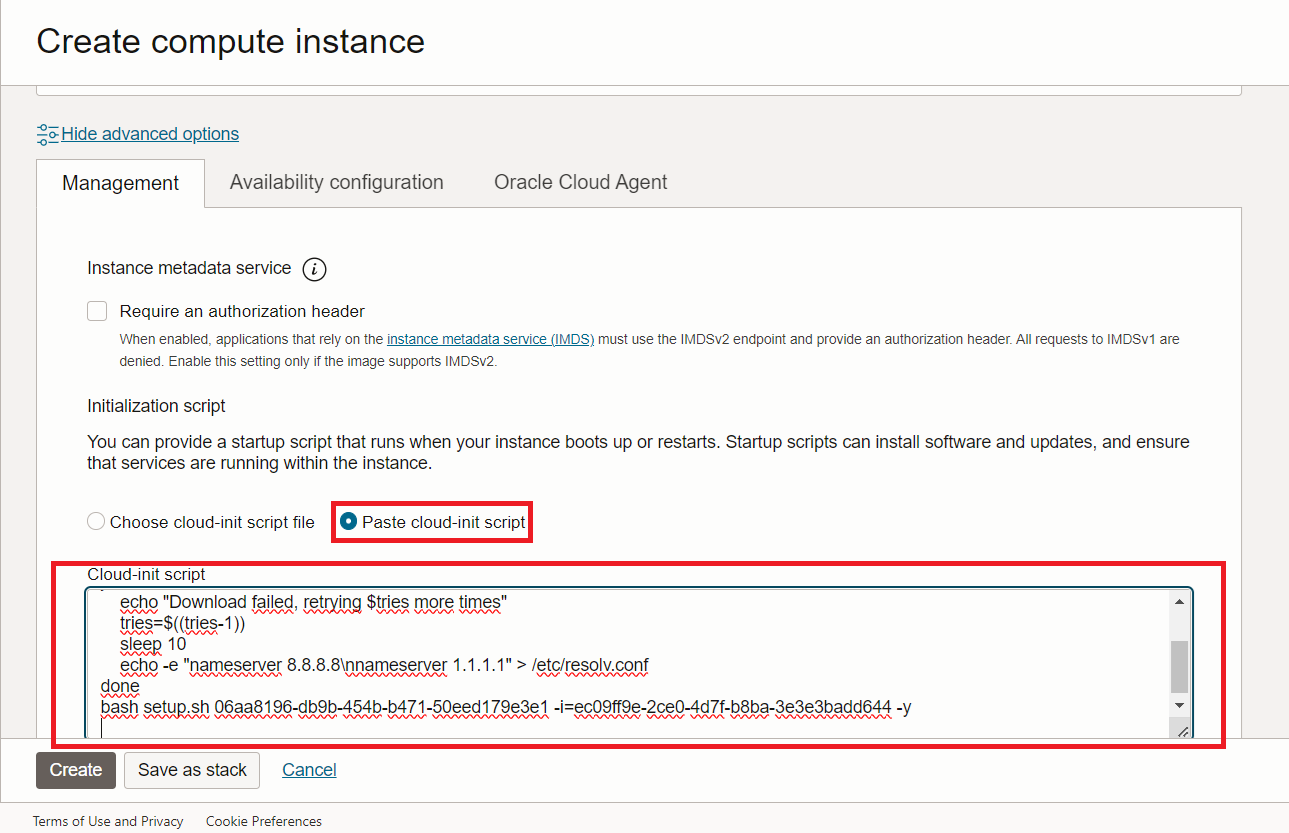
Create VM
Finally click CREATE button to create VM
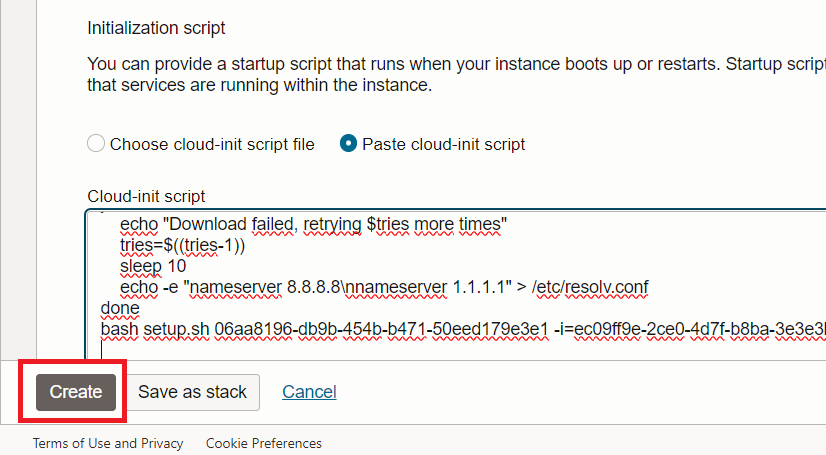
Instance created
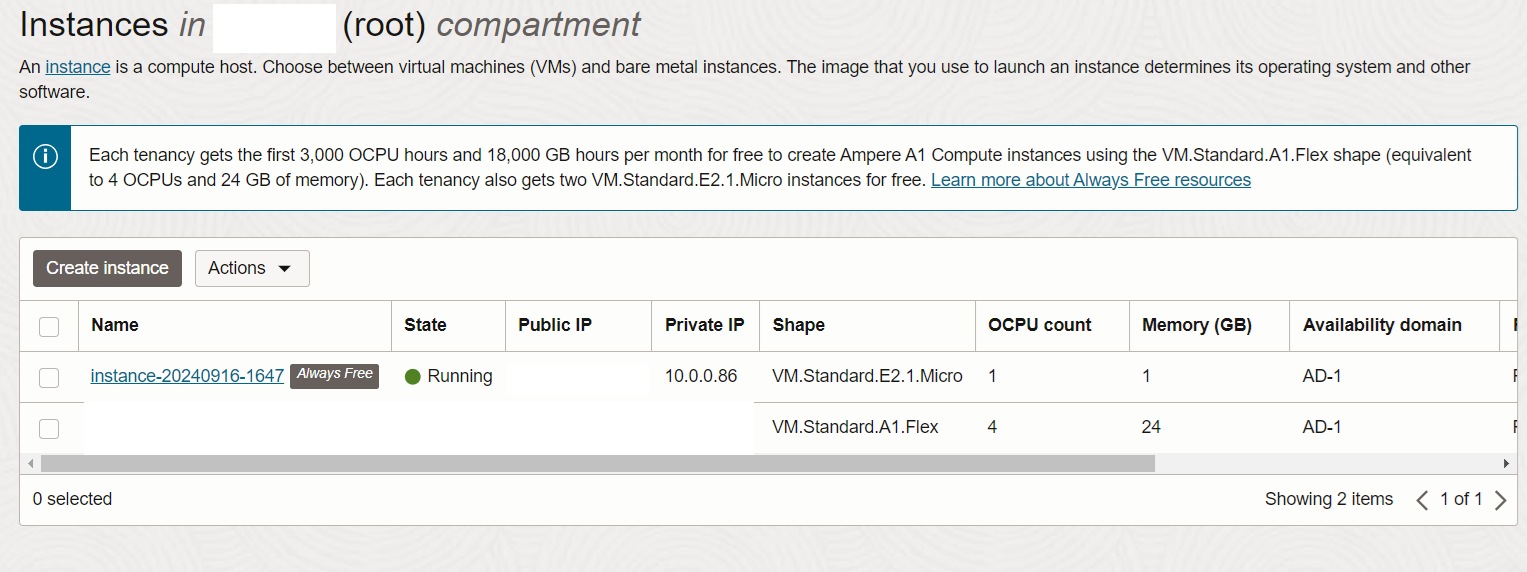
After instance created we go back to TinyInstaller -> Deployment History to check install status
Step 3 - Check install status
You can monitor install processes at Deployment History
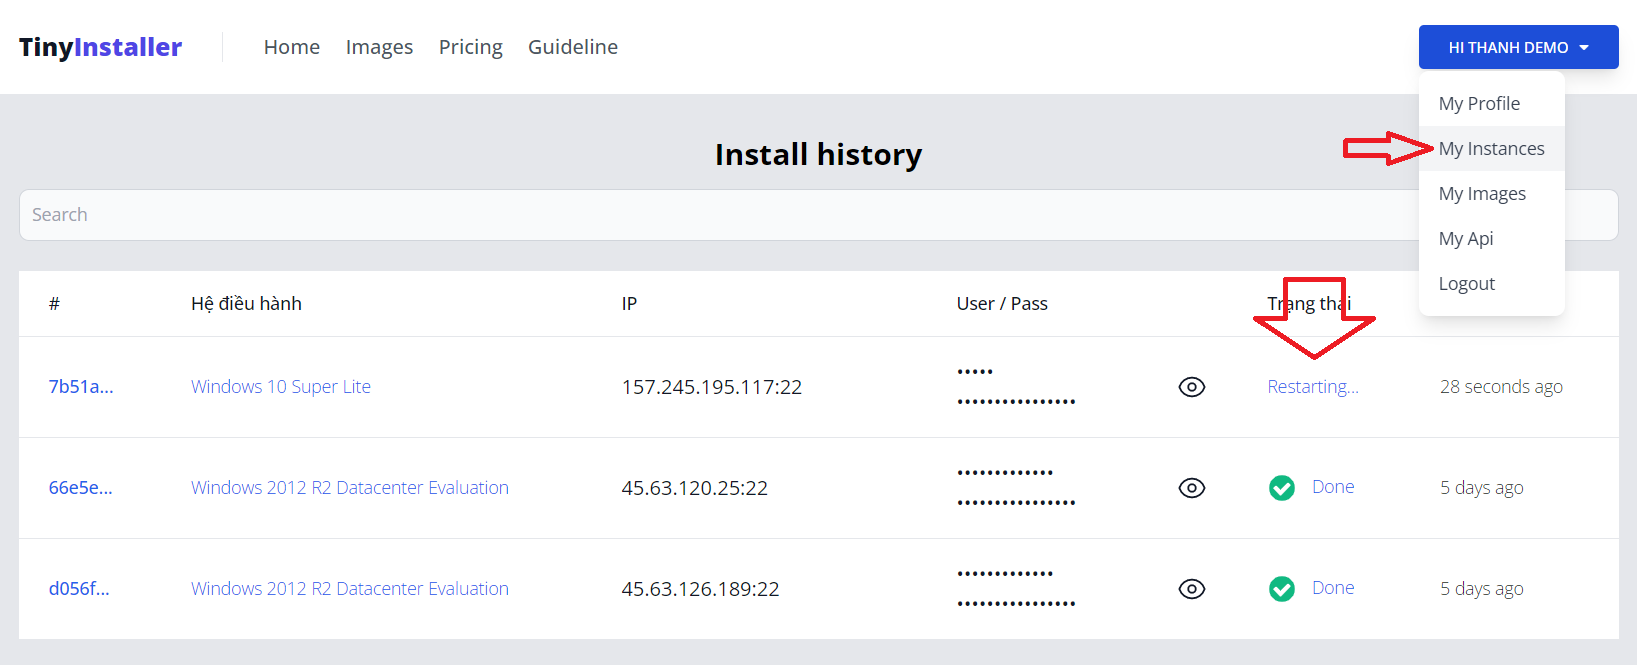
You can view status detail by click the link on status column
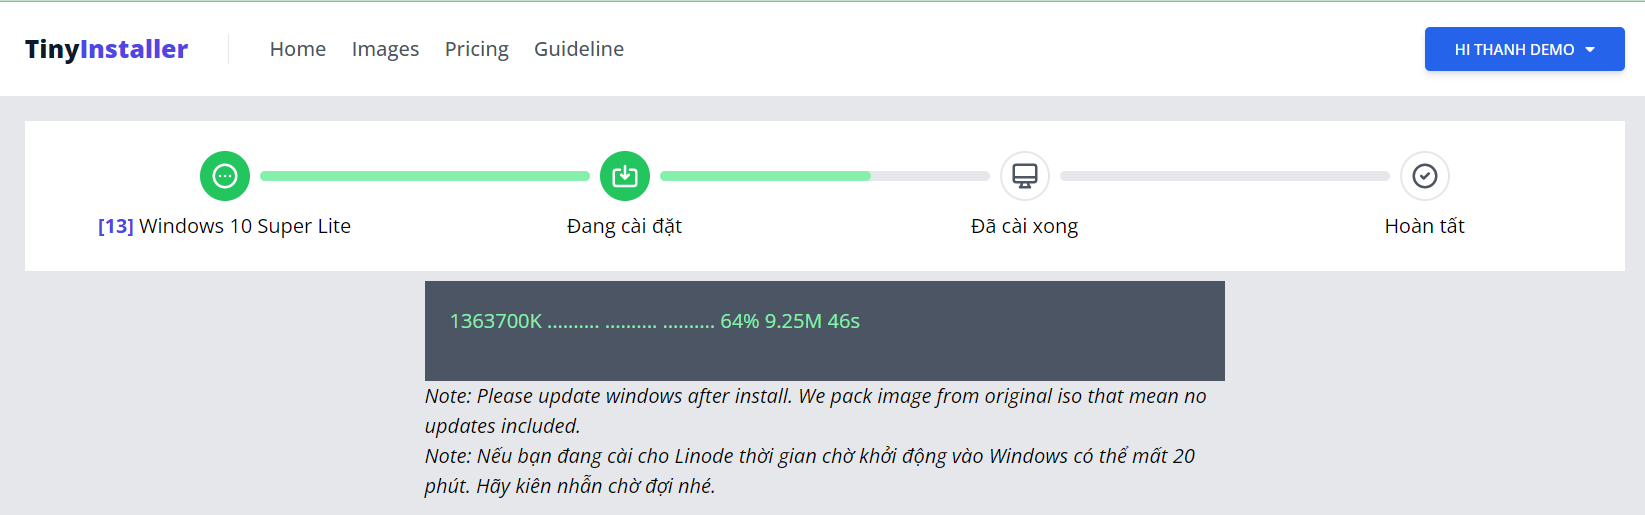
Step 4 - Access to Windows
When installation done, you can copy it and access to RDP
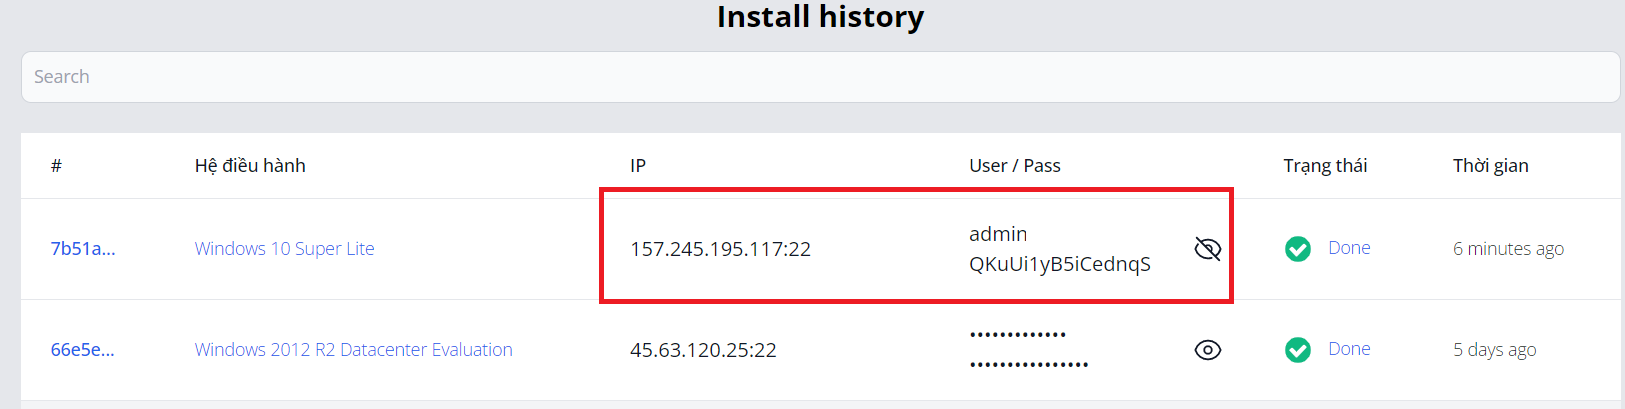
That's all, you now connect to windows via RDP. Everything is processed automatically.