Install Windows on SSD Nodes
Step 1: Login to linux vps
Utilize your preferred SSH client to log in to Linux. There are various popular options available, such as Putty, Termius, Bitvise, and more. For the purpose of this guide, we will be using the Bitvise SSH client for the connection. You can download it from the following link https://www.bitvise.com/ssh-client-download
Fill Host, Username, Password then click login
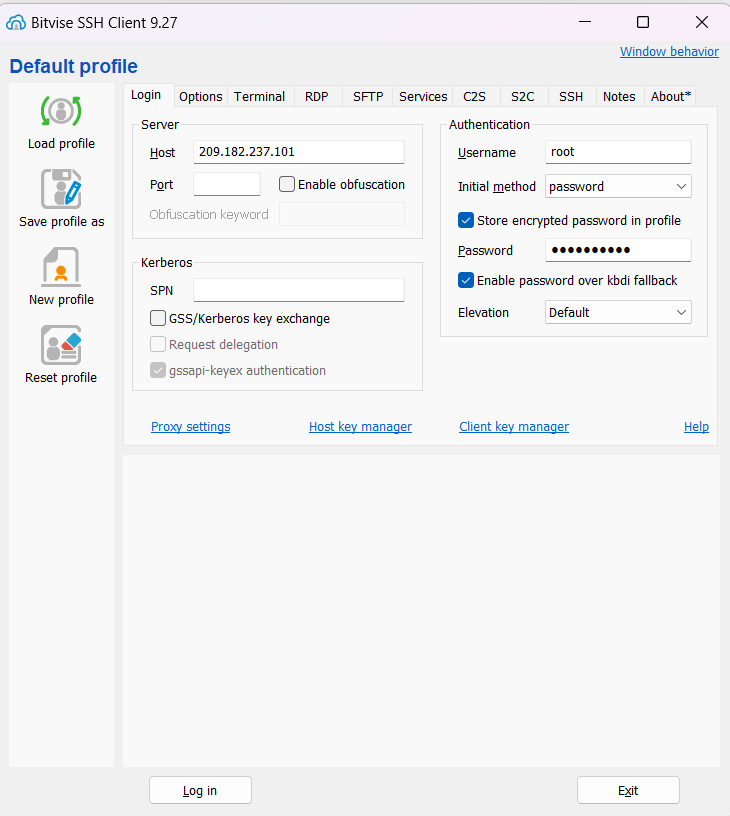
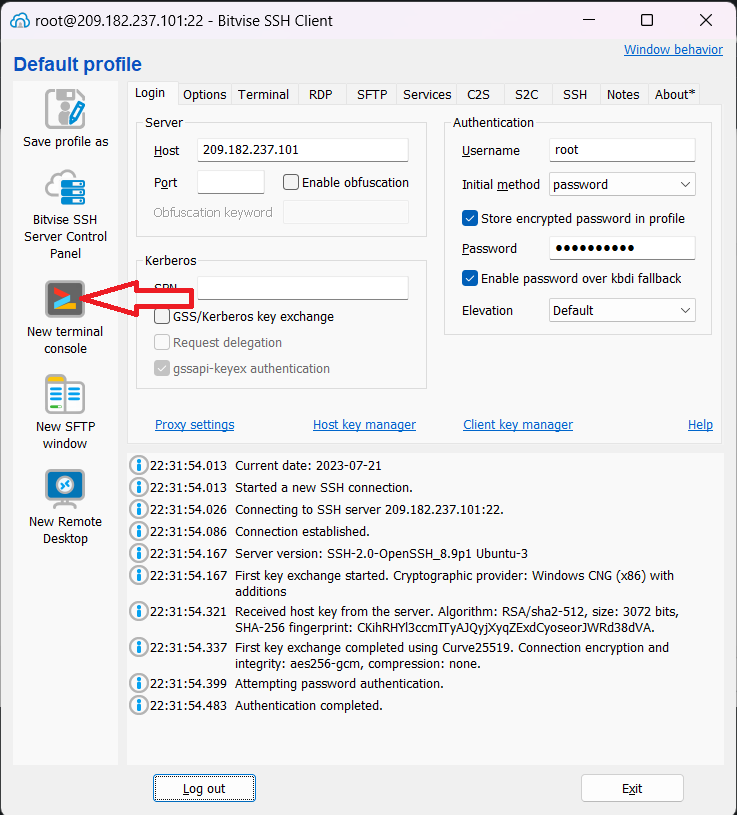
After login then click New Terminal Console
Terminal windows appears, we leave it there and get command from tinyinstaller to run
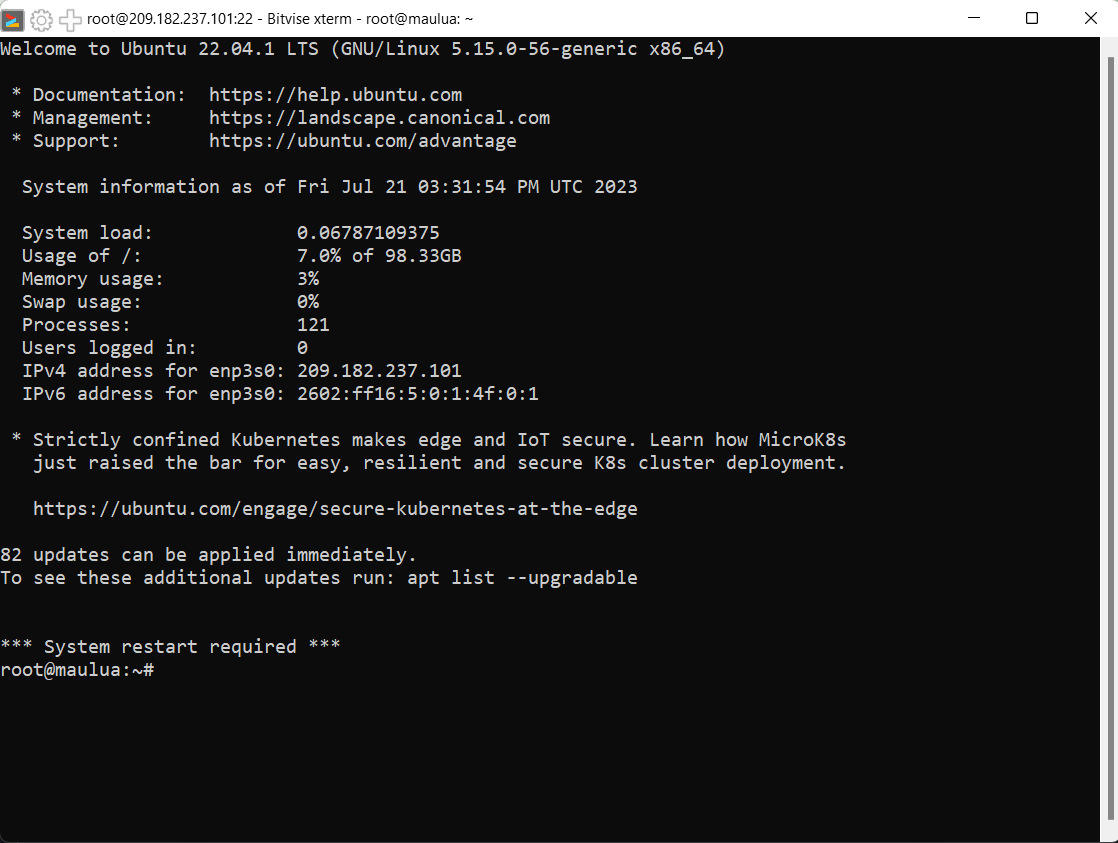
If user is not root then run sudo -i command to switch to root
Step 2: Get the install command
To get started, you need an active TinyInstaller access key.
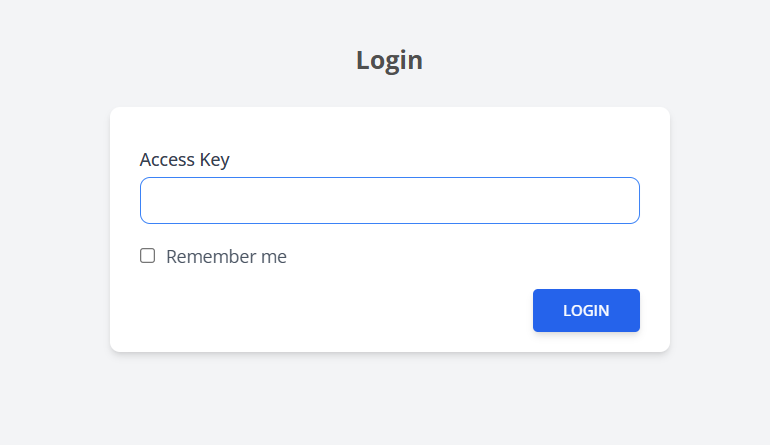
Login to TinyInstaller
Go to https://tinyinstaller.top/login then Enter your access key to continue.
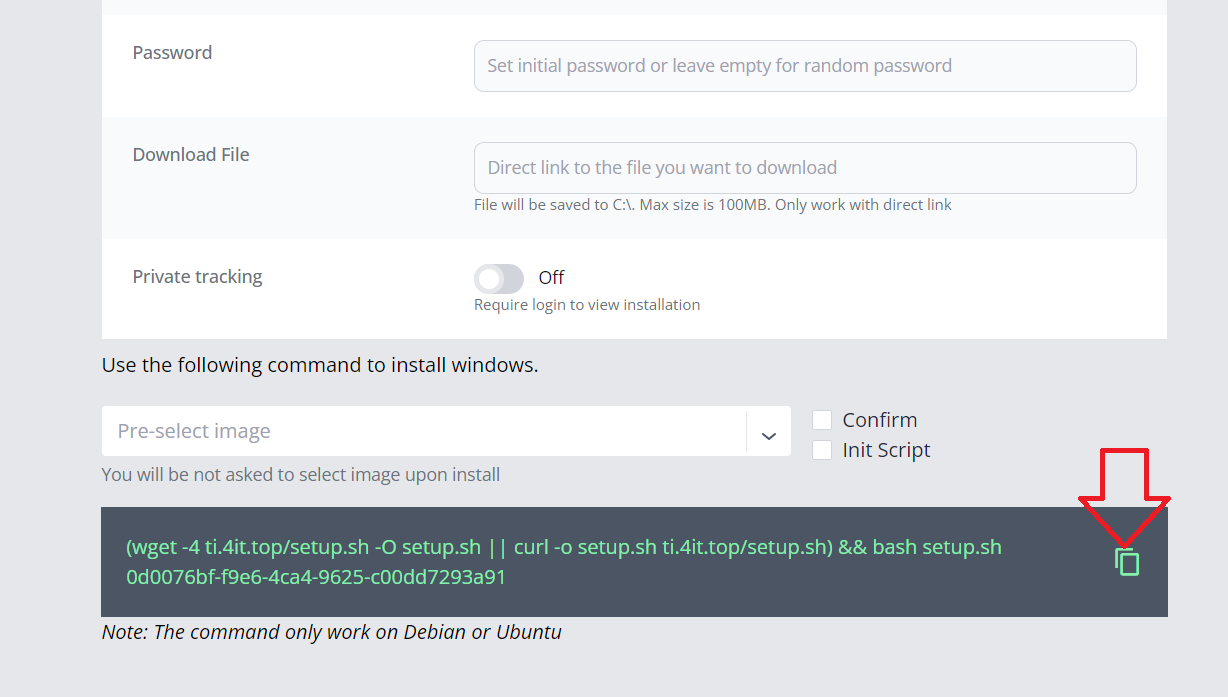
Copy the command
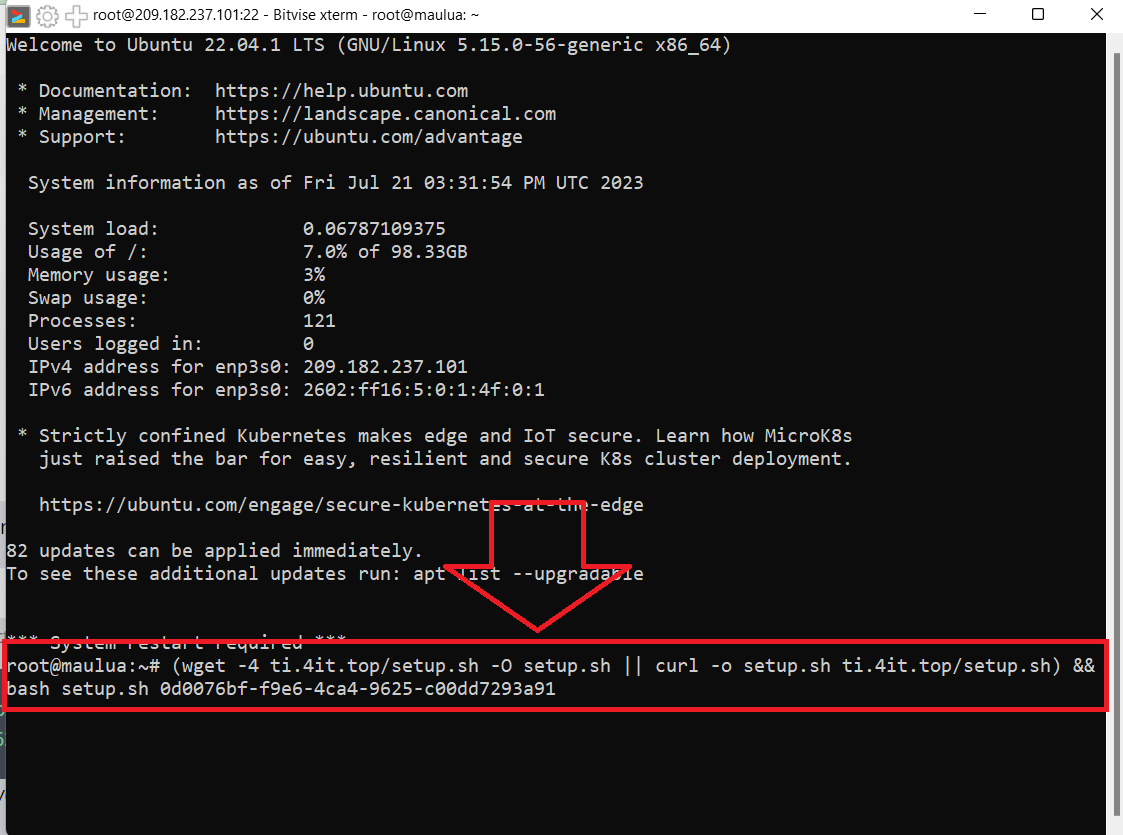
Run command
Paste command to Terminal Console in previous step then press enter to run
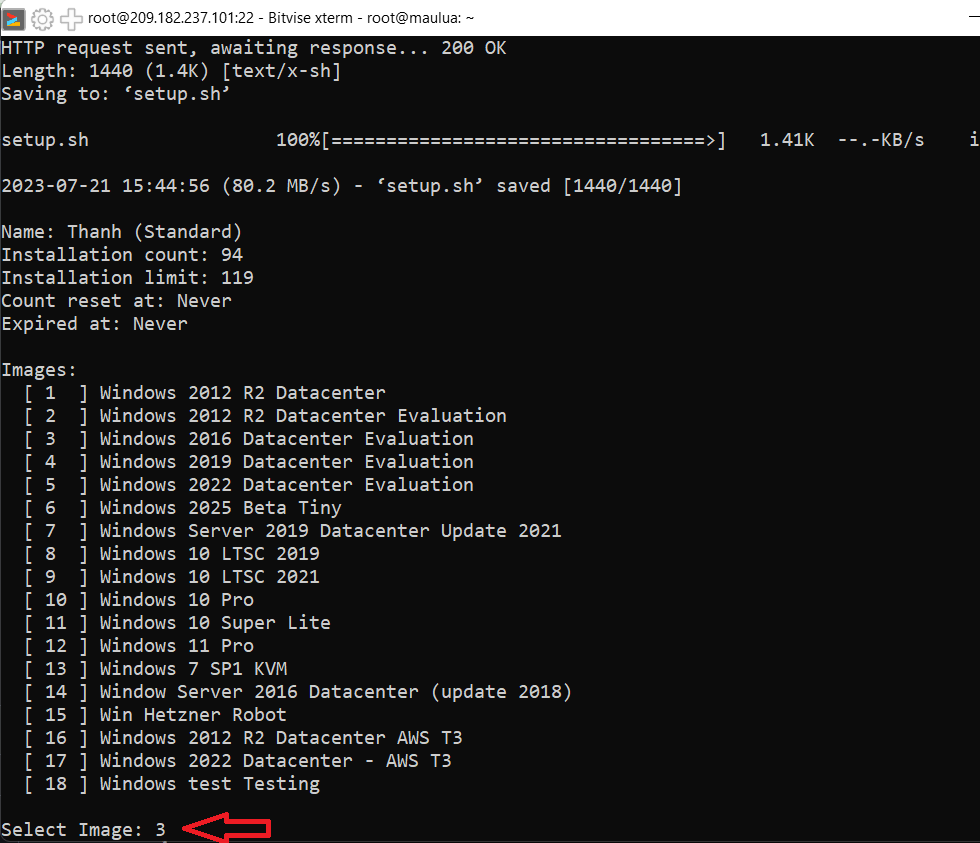
Choose image
Input the corresponding number then press enter. E.g. I choose Windows 2016 then input 3
Confirm installation process
Copy the tracking link then confirm by answer "y"
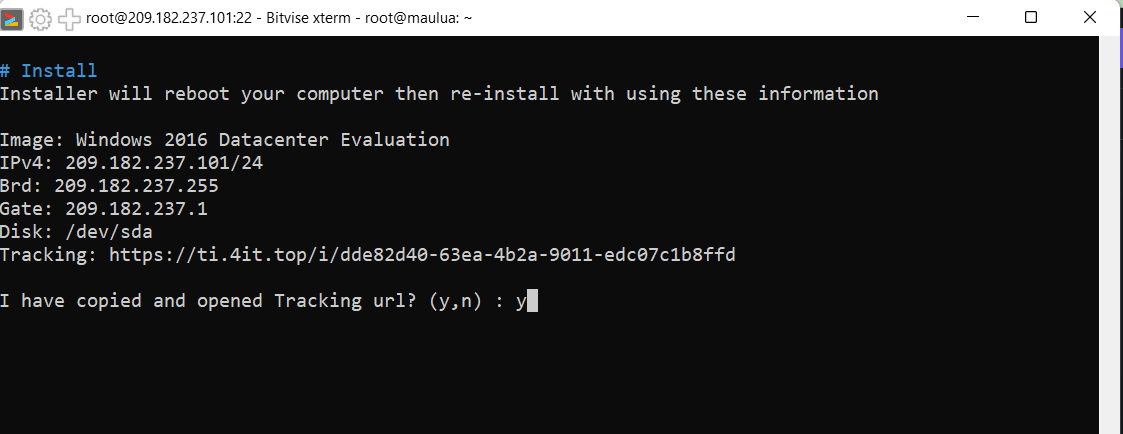
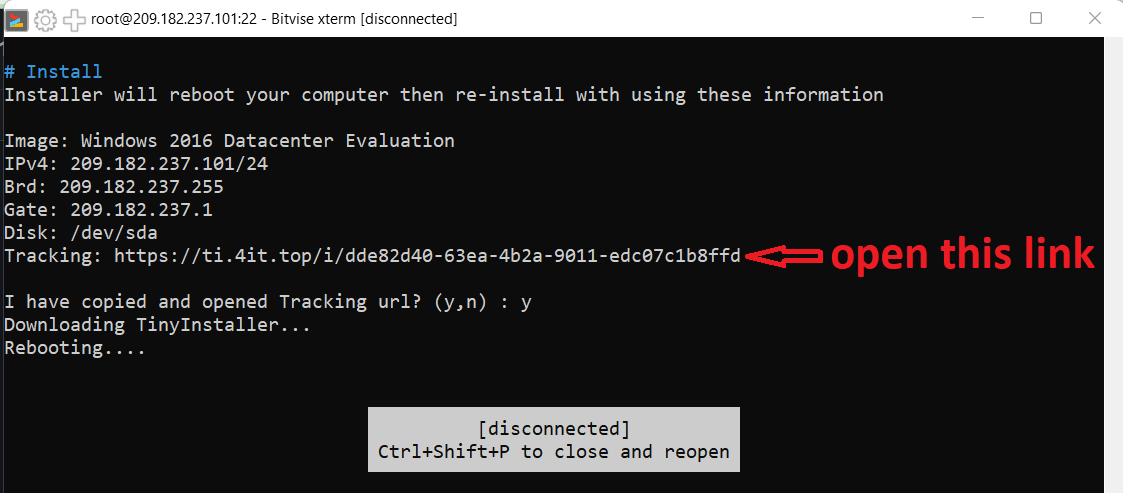
SSH terminal will be disconnected and we track progress on website by open Tracking link
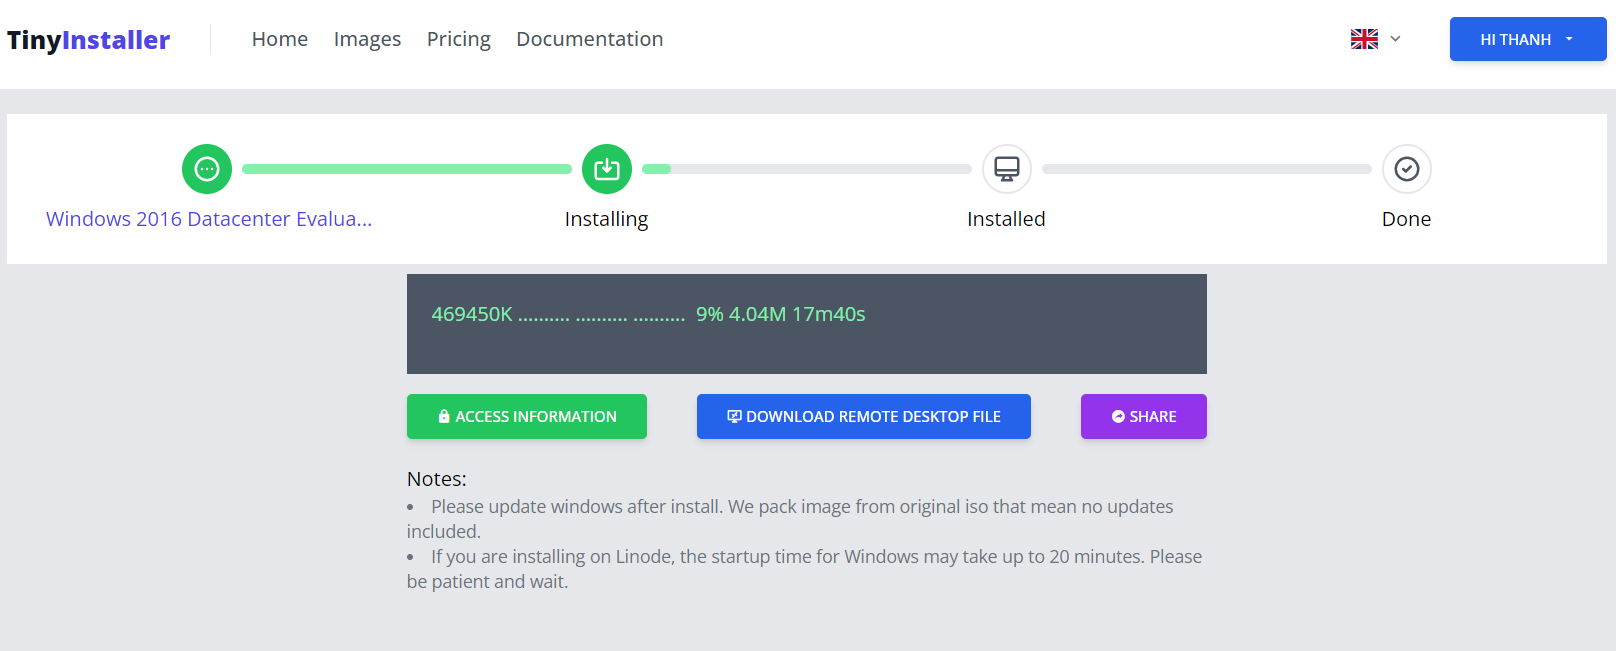
Track installation progress and get RDP access in website
Step 3: Connect to windows
Open Remote Desktop Connection
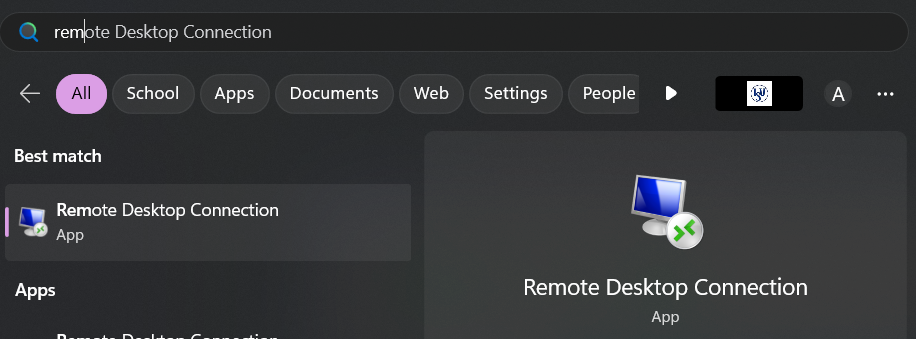
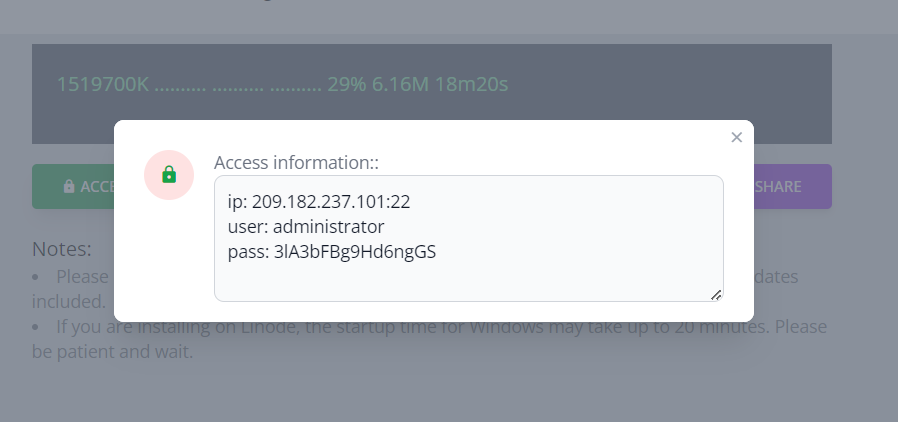
Copy access information from website to access to windows