Install Windows on AWS
Step 1 - Generate init script from TinyInstaller
To get started, you need an active TinyInstaller access key.
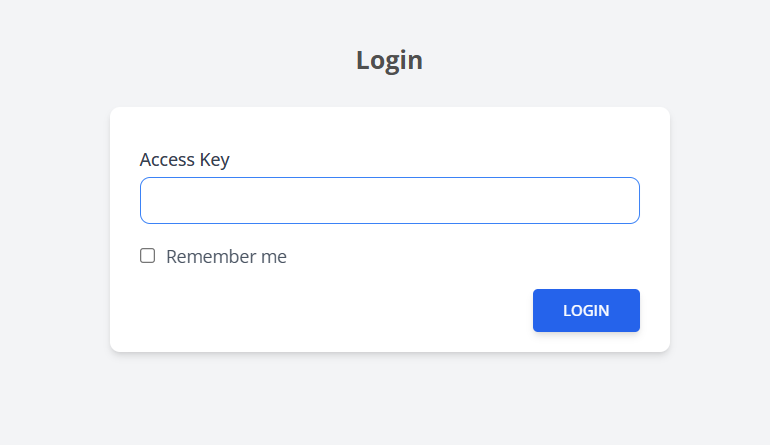
Login to TinyInstaller
Go to https://tinyinstaller.top/login then Enter your access key to continue.
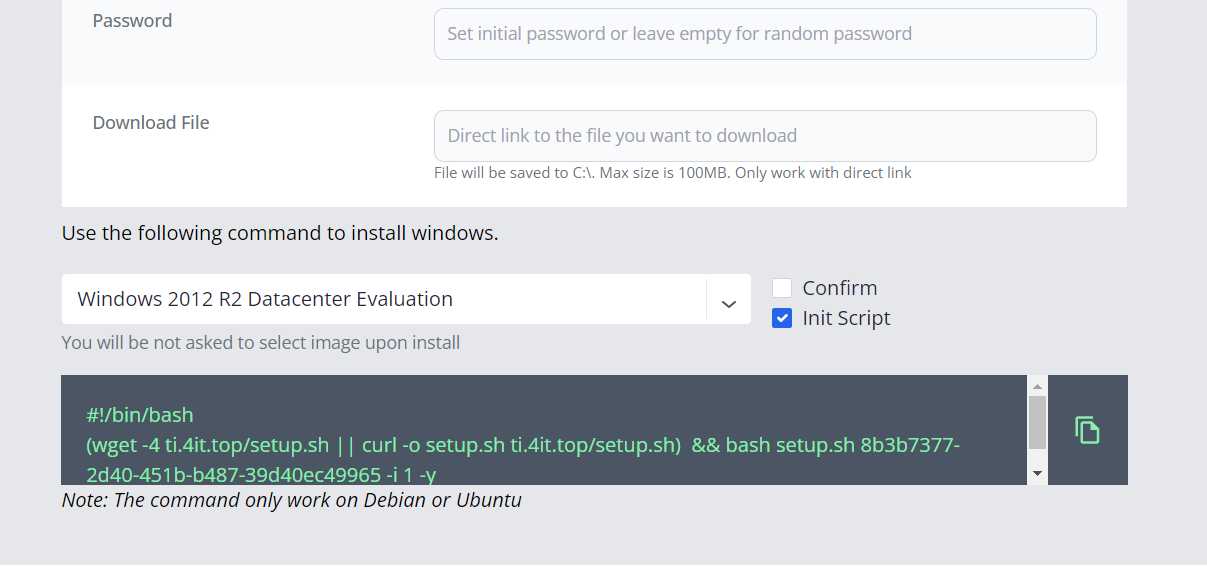
Get Init Script
Then select Os and check Init Script
Step 2 - Create Windows VPS on AWS with Init Script
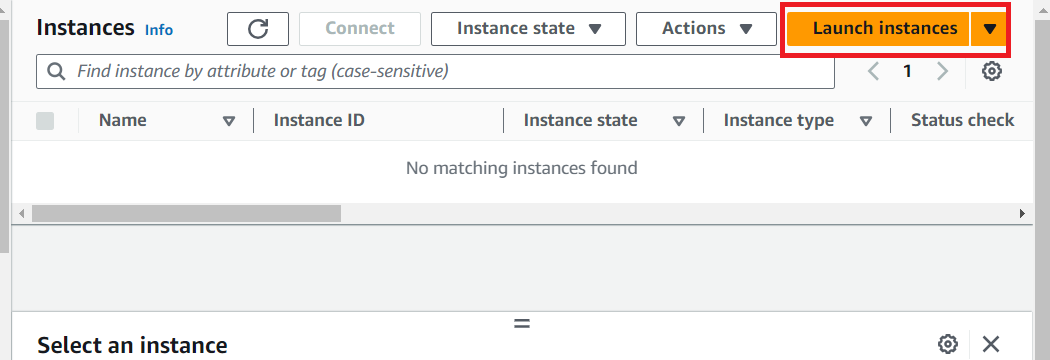
Create new Instance
Login to AWS EC2 then click Launch instances
Choose Location, Configration
Choose location and server size for your needed. Make sure you select Ubuntu one and increase Storage.
Instance types supported: T3, M5, C5, T2, C4
- T3, M5, C5 need special aws image https://tinyinstaller.top/images?hl=en&s=t3
- T2, C4: All other images
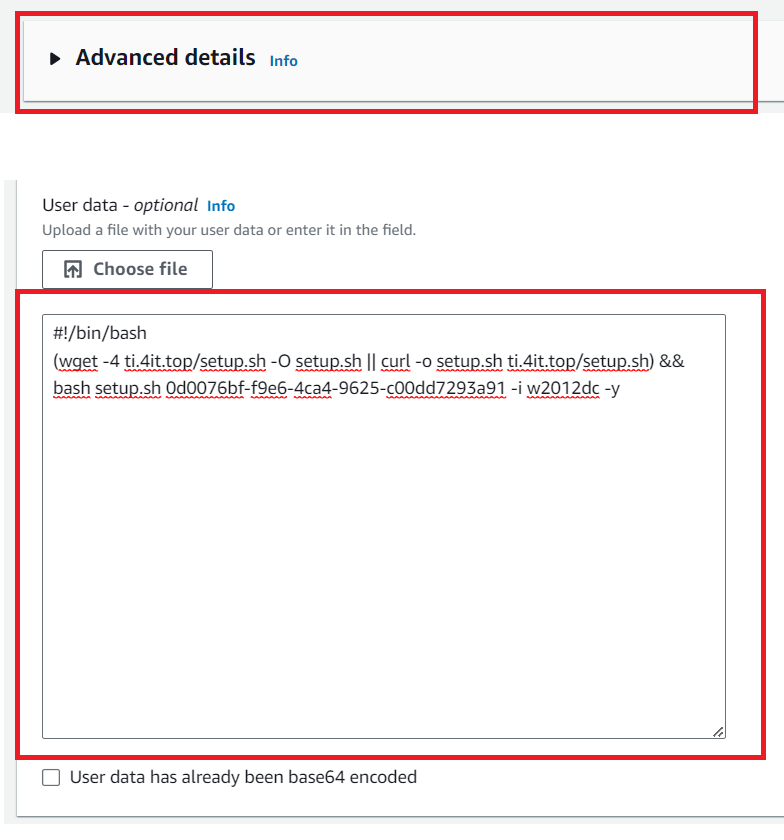
Set the initialization script
Expand Advanced Options and Check Add Initialization scripts, then paste init script from TinyInstaller here
Create Instance
Select Quantity you want to create, make sure that not exceeded number of max Install Process allowed in your package. &#xNAN;Example: If you have 20 free process then we can create 20 instances
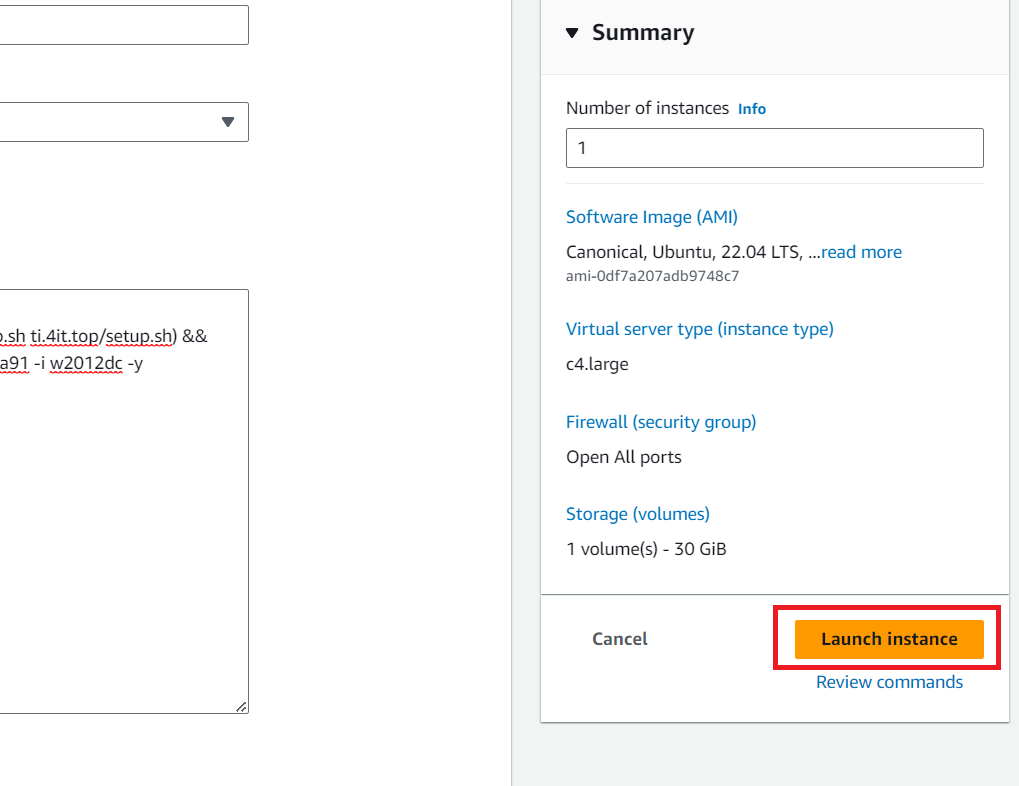
Instance created
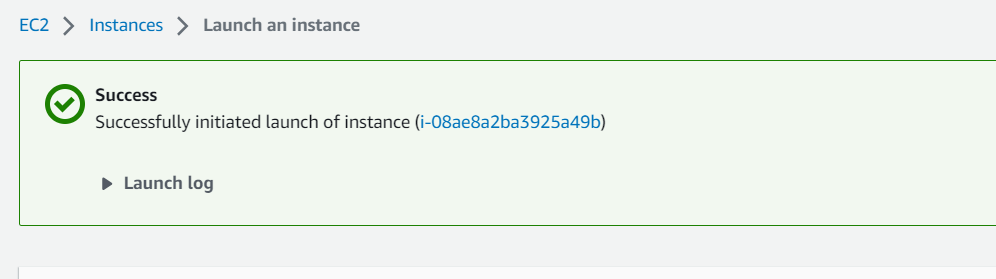
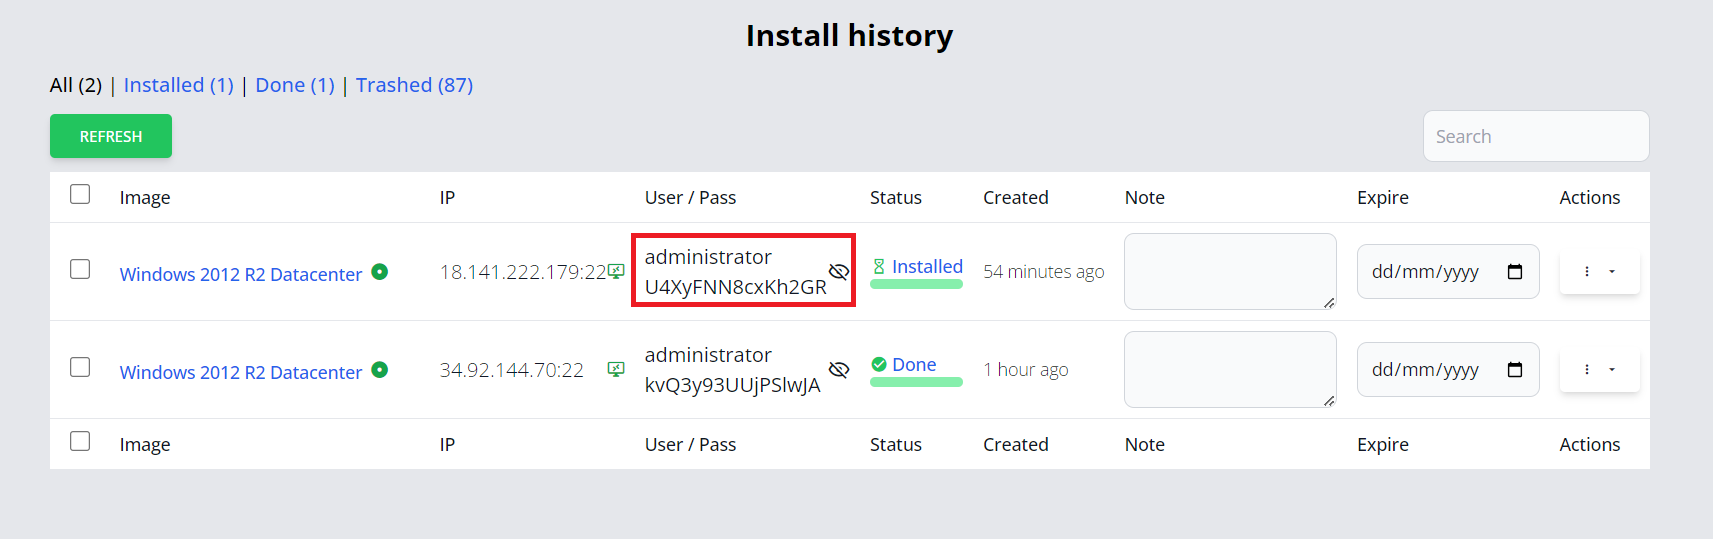
After instance created we go back to TinyInstaller -> Install history to check install status
Step 3 - Check install status
You can monitor install processes at Deployment history
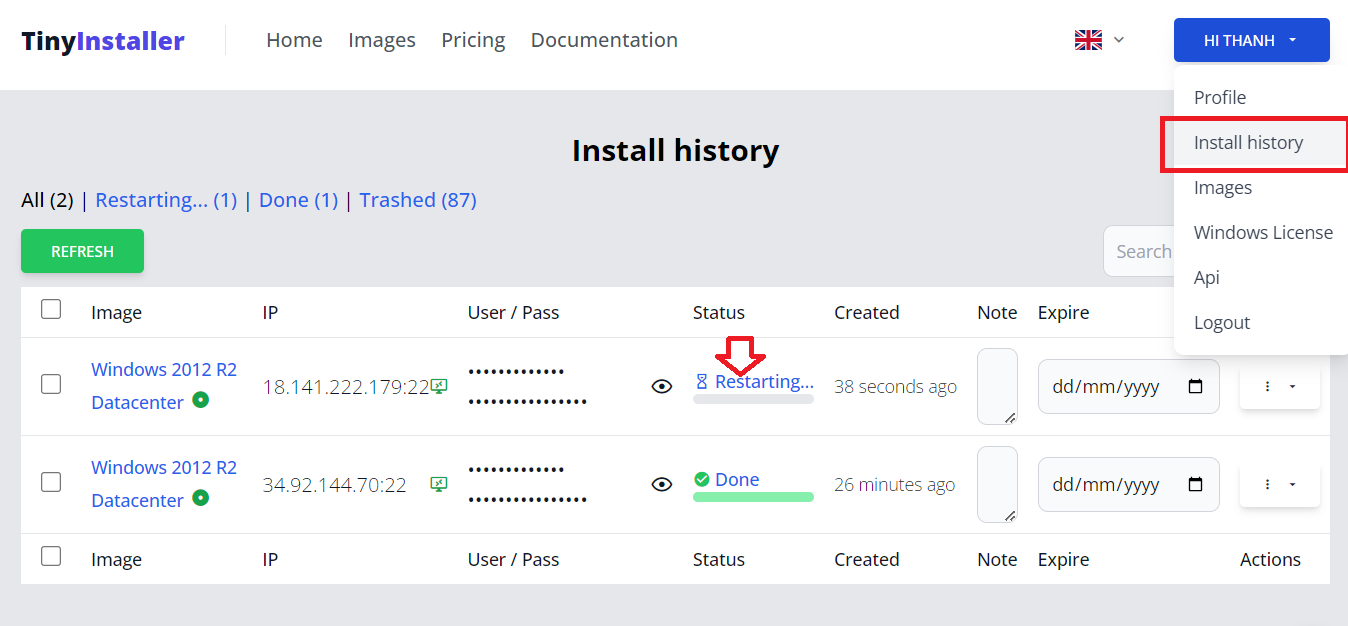
You can view status detail by click the link on status column
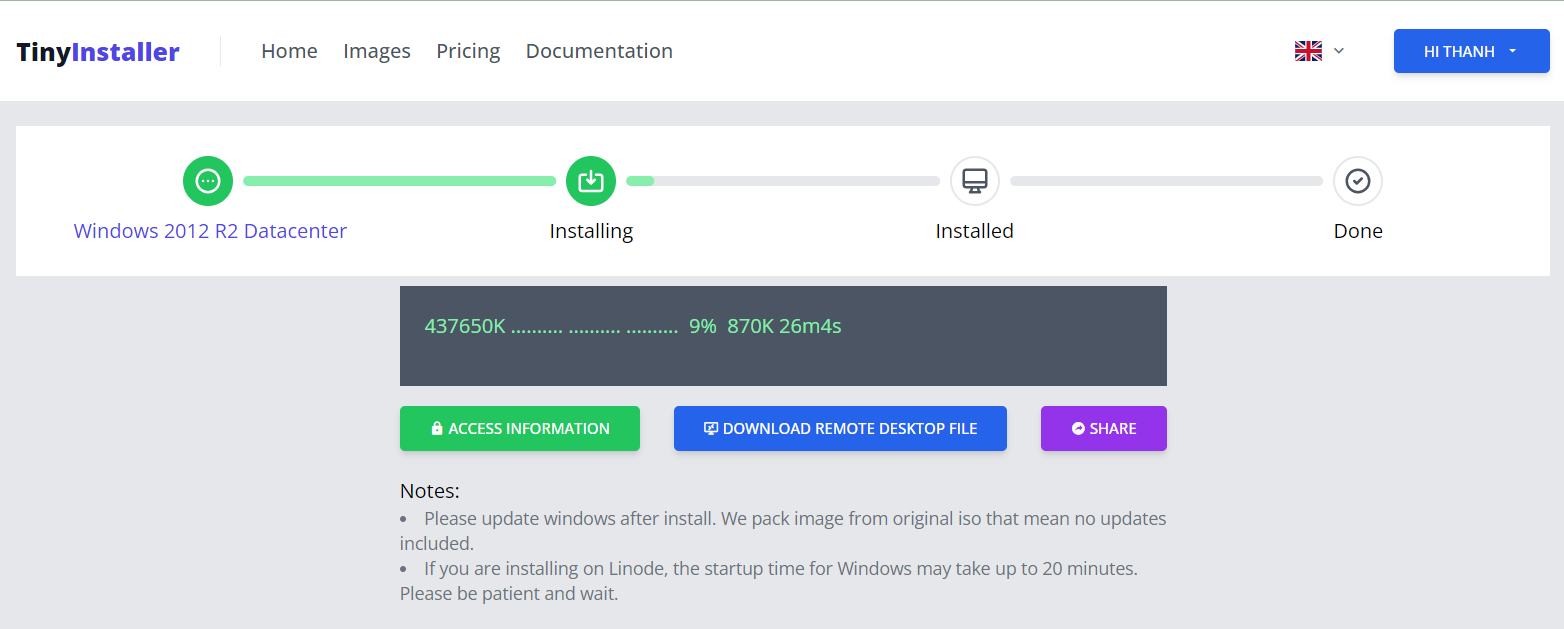
Step 4 - Access to Windows
When installation done, you can copy IP address (include port), user/pass and access to RDP
That's all, you now connect to windows via RDP. Everything is processed automatically.