Install Windows on Google Cloud
Step 1 - Generate init script from TinyInstaller
To get started, you need an active TinyInstaller access key.
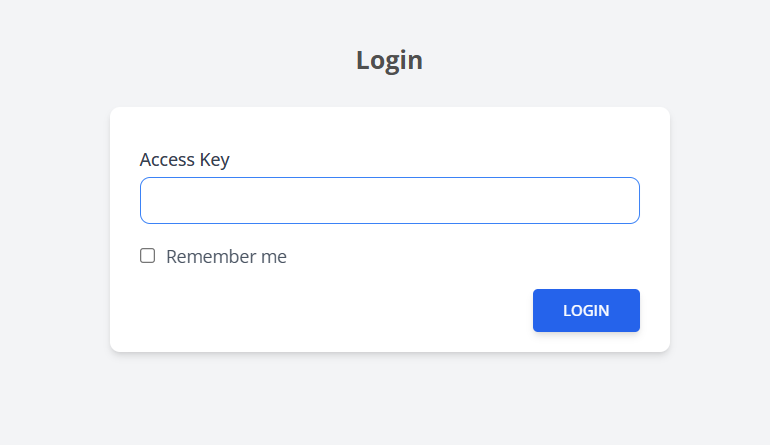
Login to TinyInstaller
Go to https://tinyinstaller.top/login then Enter your access key to continue.
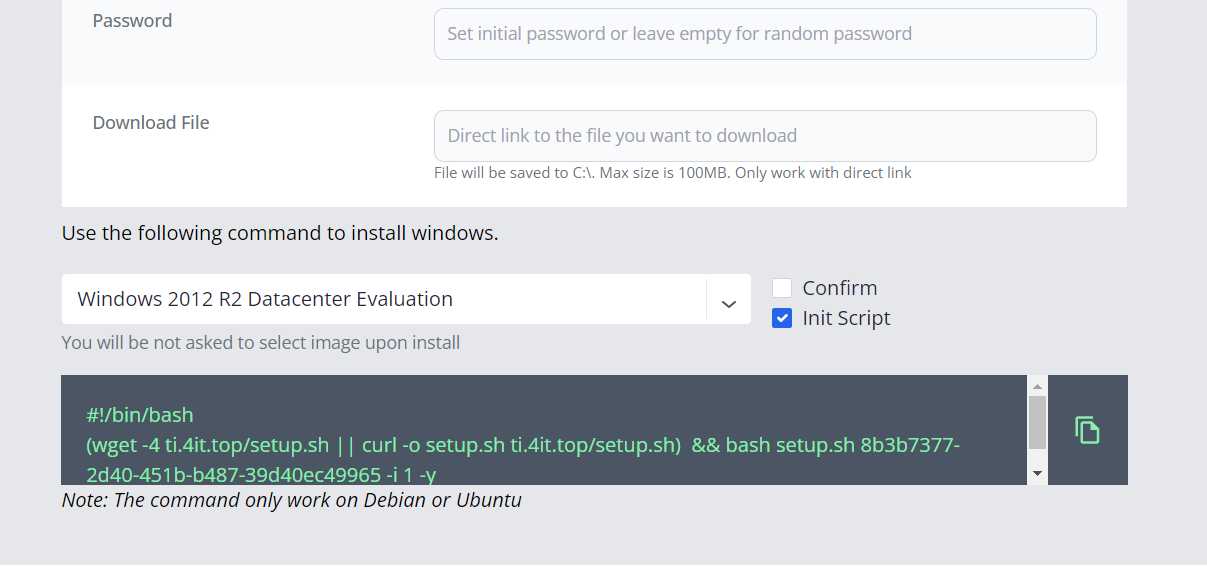
Get Init Script
Then select Os and check Init Script
Step 2 - Create Windows VPS on Google Cloud with Init Script
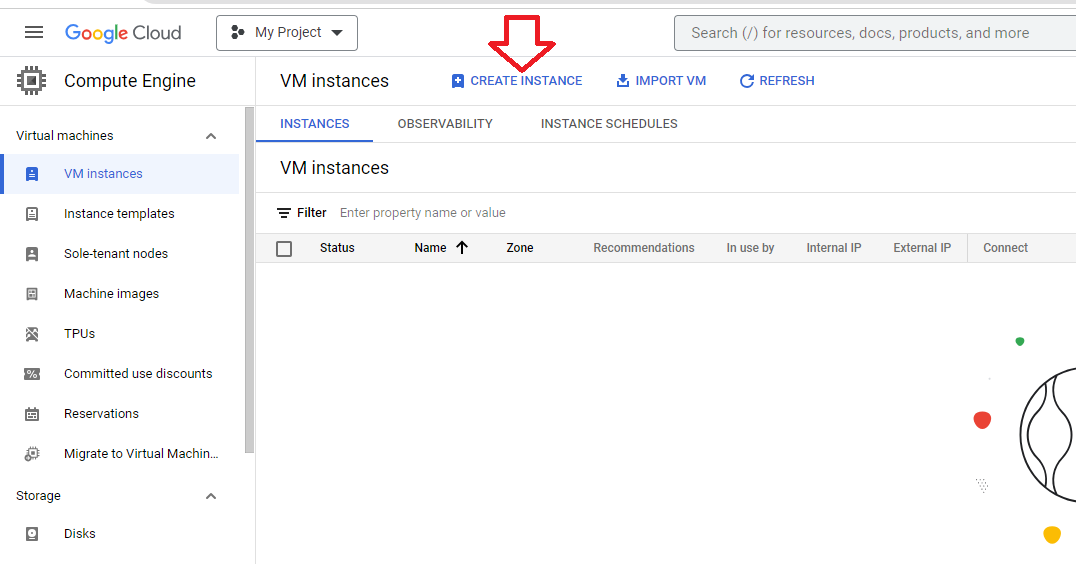
Create new VM Instance
Login to Google Cloud then click CREATE INSTANCE
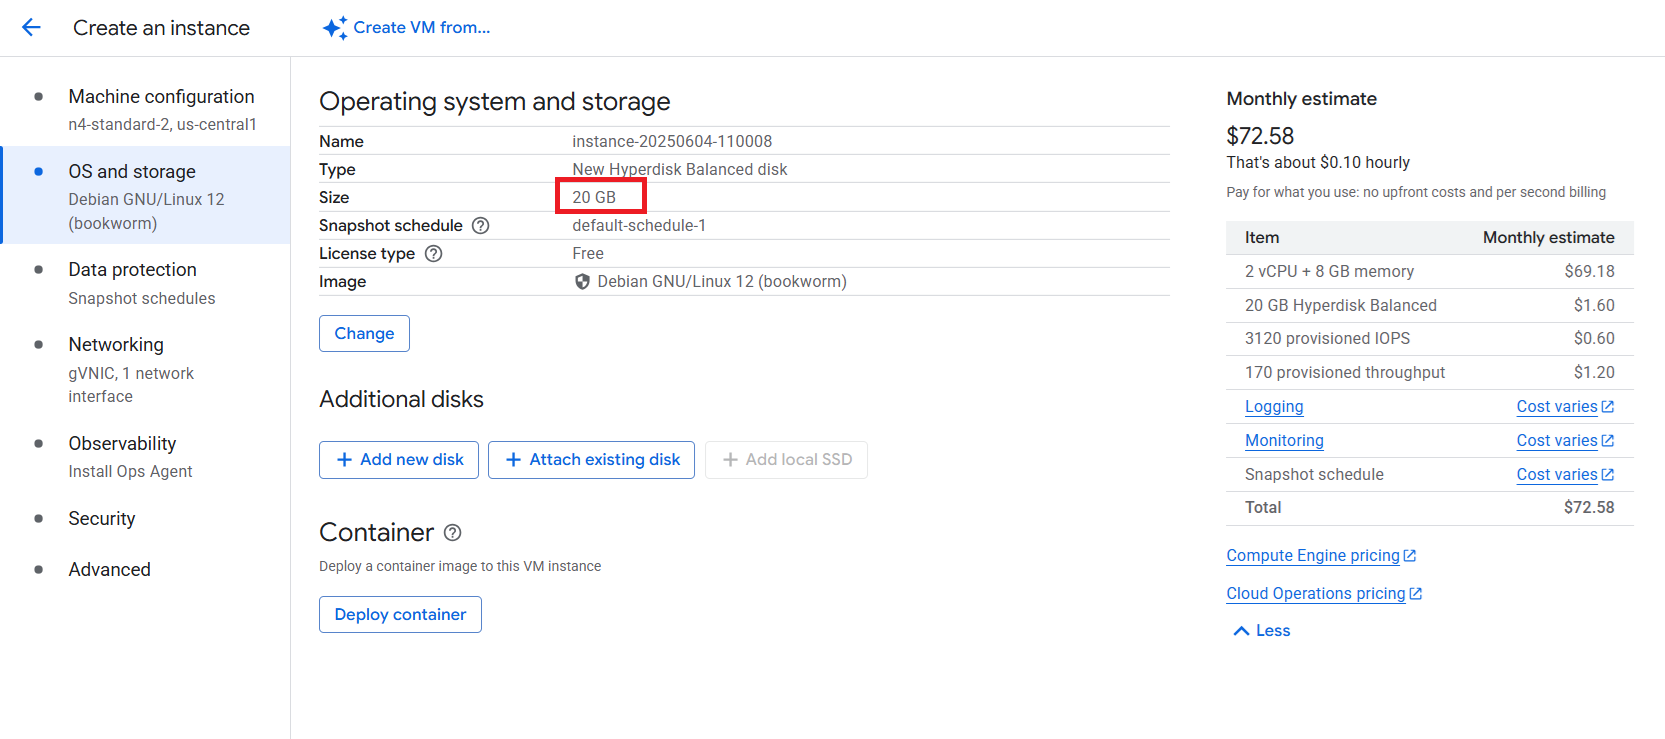
Choose Location, Configuration
Choose location and server size for your needed. Make sure Disk Size is enough to run Windows. Do not choose ARM cpu, TinyInstaller supports Intel/AMD only.
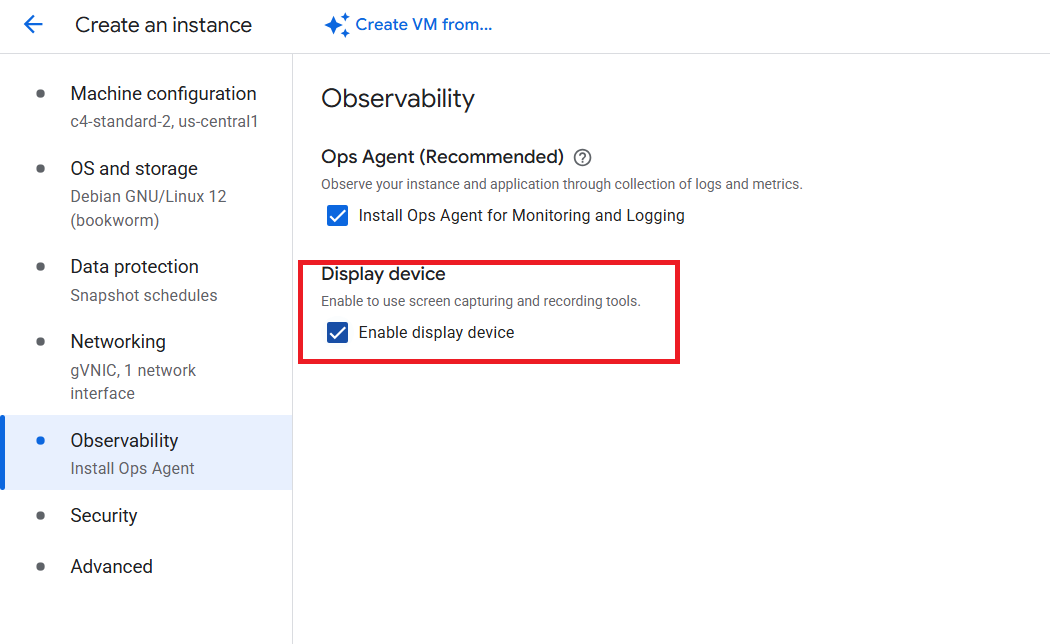
Enable display device
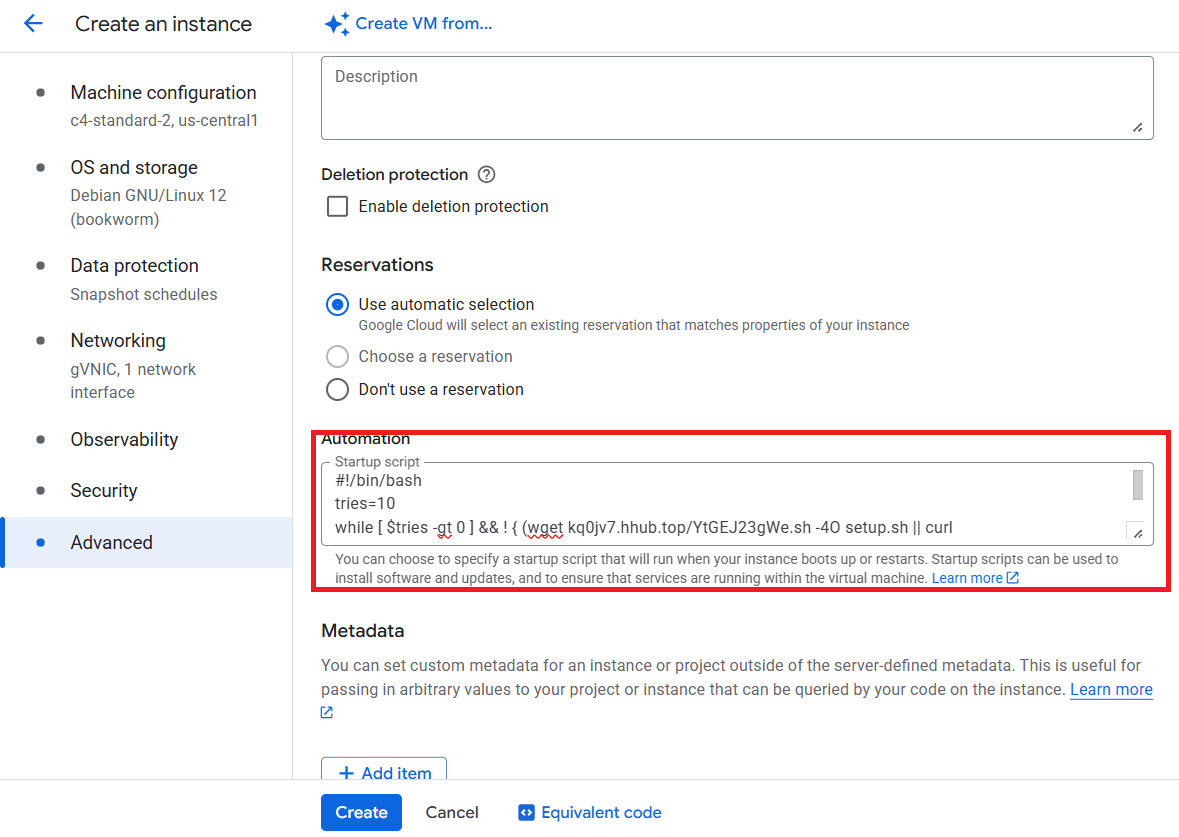
Set the initialization script
Switch to Advanced, then paste init script from TinyInstaller into Automation
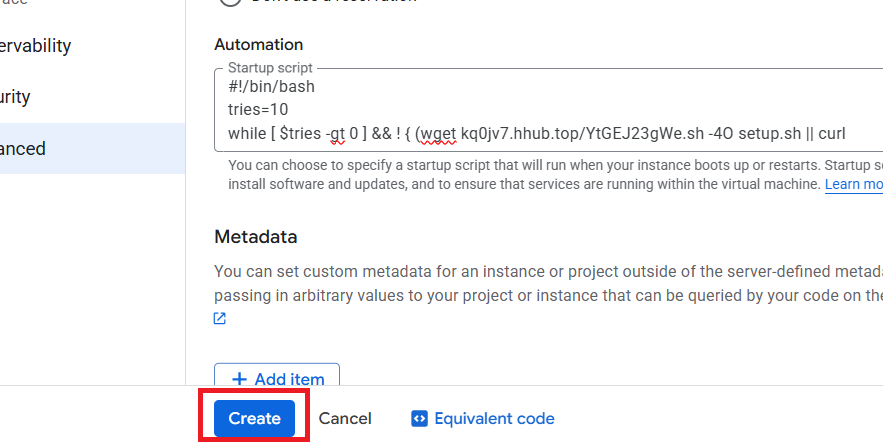
Create VM
Finally click CREATE button to create VM
Instance created
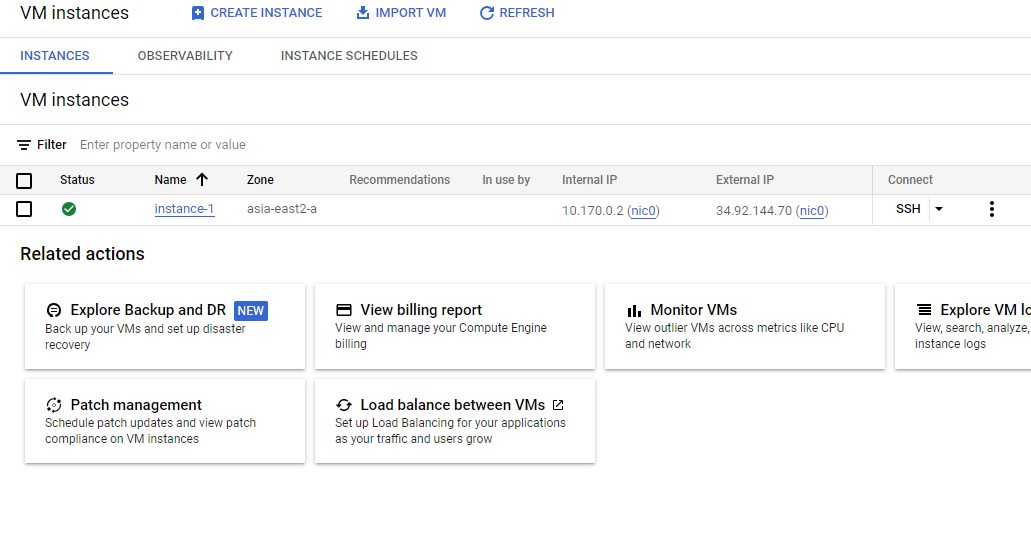
After instance created we go back to TinyInstaller -> Deployment History to check install status
Step 3 - Check install status
You can monitor install processes at Deployment History
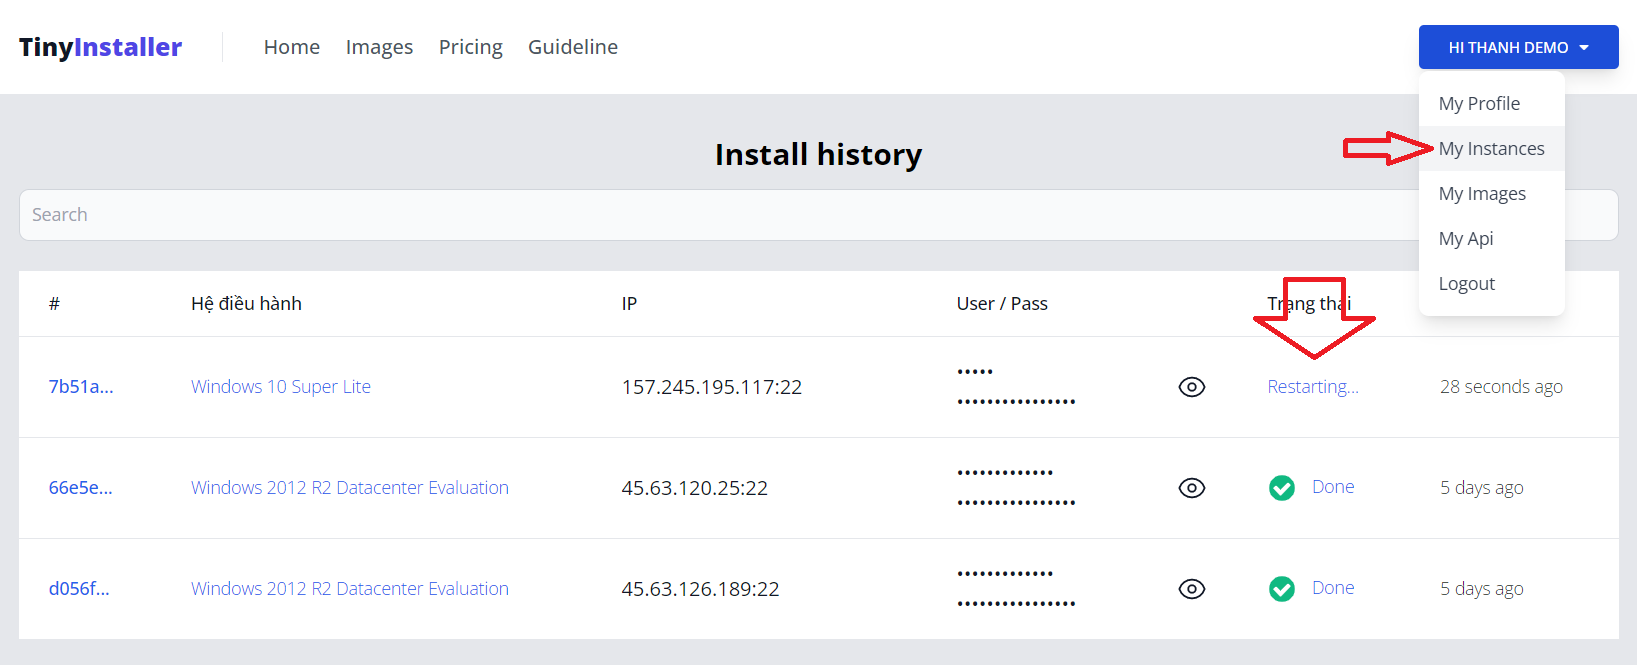
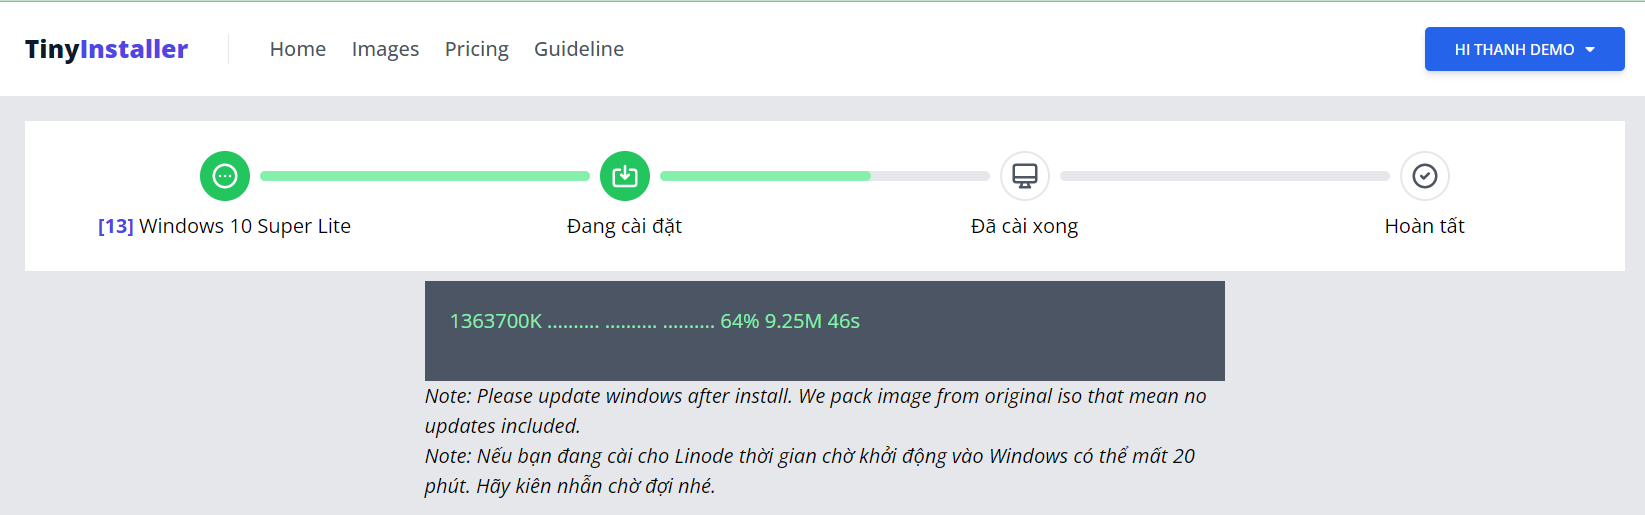
You can view status detail by click the link on status column
Step 4 - Access to Windows
When installation done, you can copy it and access to RDP
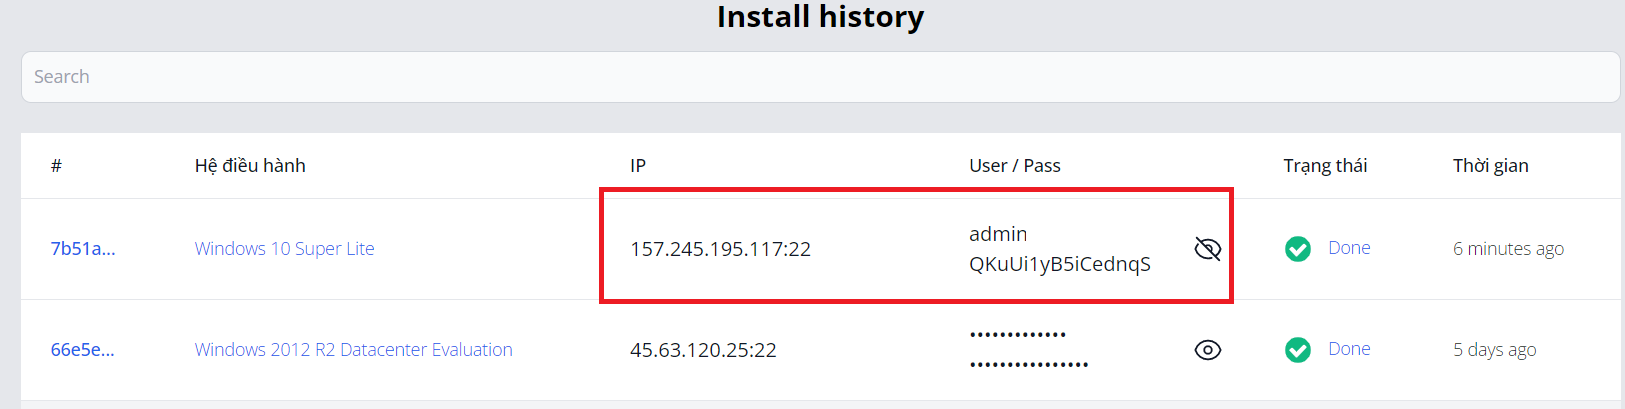
That's all, you now connect to windows via RDP. Everything is processed automatically.